
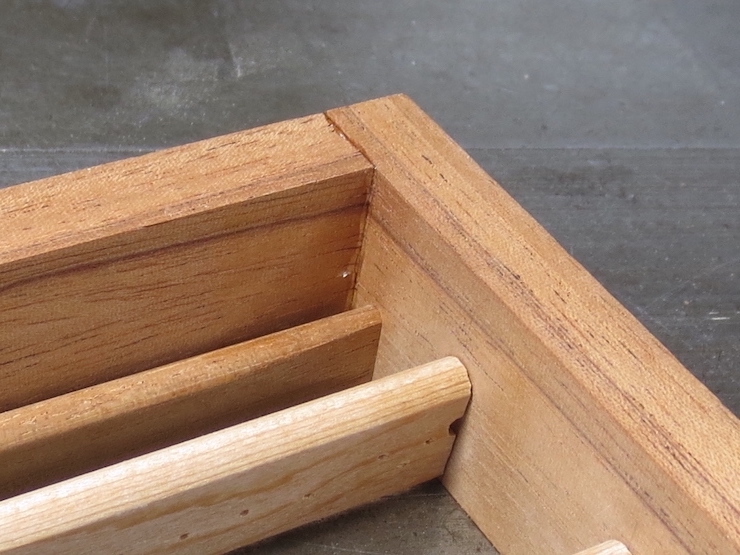
This mould has had epoxy applied to the corner joints and is secured with spring clamps while the glue cures. The dents left by the clamps poking into the wood will be covered by brass sheathing.
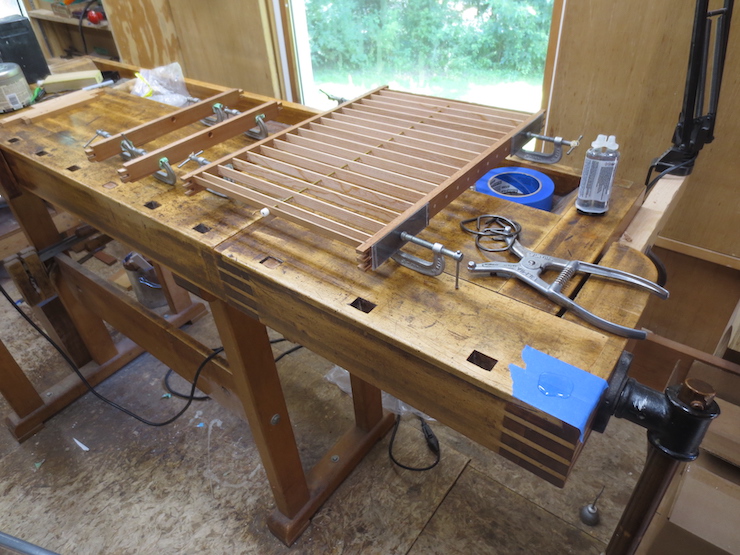
Using clamping cauls eliminates the dents for moulds without sheathing. This mould is ready to glue and clamp. At the ready are spring clamps, the clamp spreader and a puddle of epoxy ready to be mixed and applied.

I buy Devcon 2 Ton epoxy at my local hardware store. I mix and apply it with a short piece of 1/16″ brass rod with ends sanded and buffed smooth.
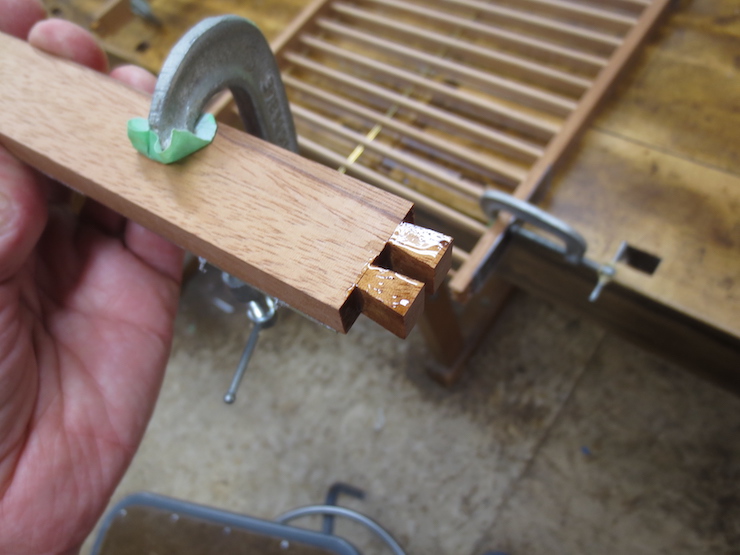
Glue is applied to both parts for every joint.

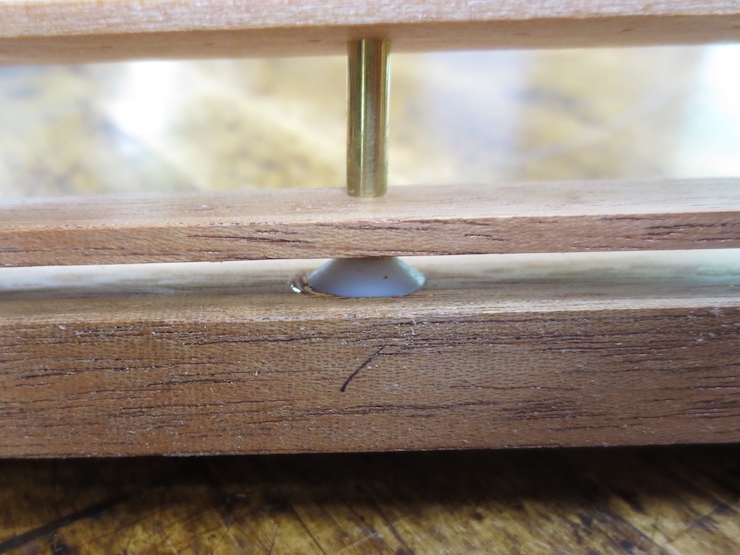
The socket for the brace rod end.

The cauls are made of thin polycarbonate plastic with pieces of sanding belt attached with contact cement. A groove has been cut along each end to engage the points of the spring clamps.

The clamps hold the parts tightly together while the glue cures.
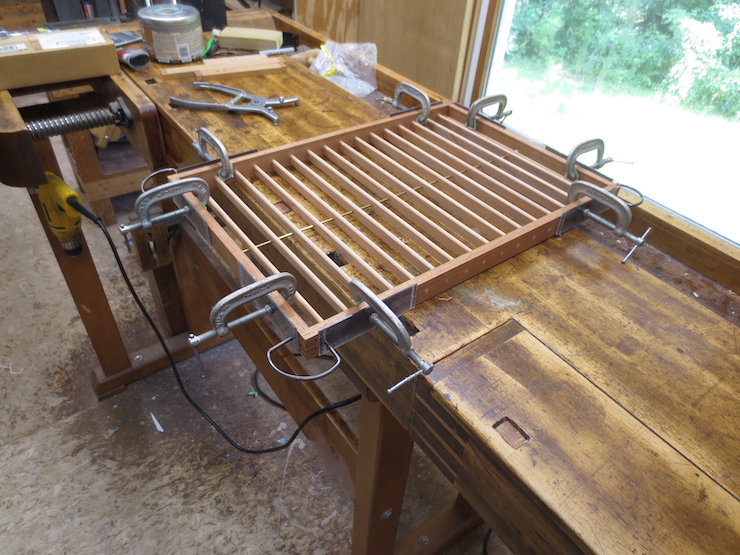
The mould stays in clamps until the next day.
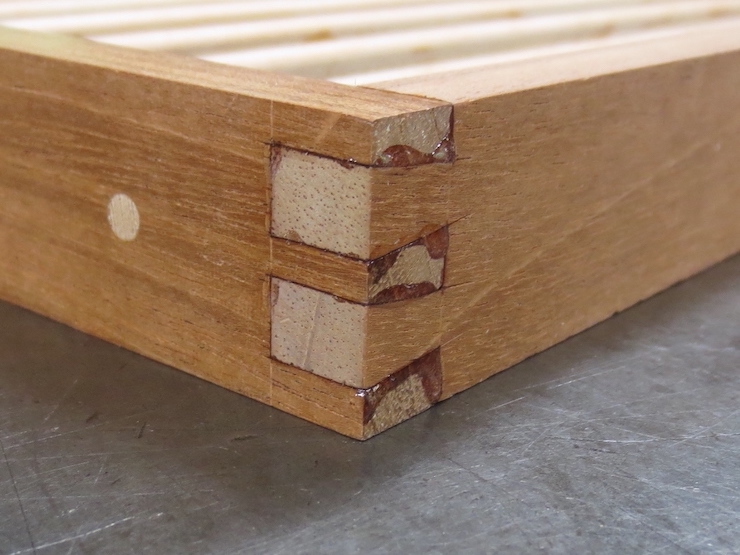
There is always glue squeeze-out to clean up.
Excess epoxy inside a corner.

Epoxy can be pared away with a sharp chisel.
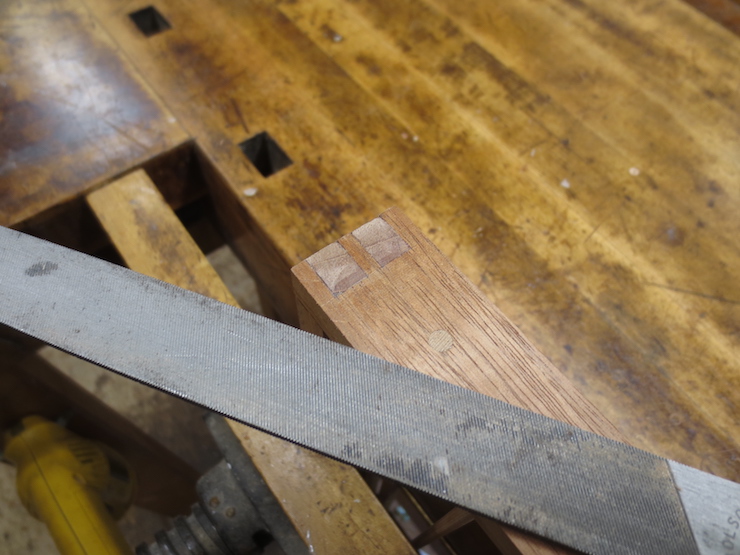
The job is finished with a file.
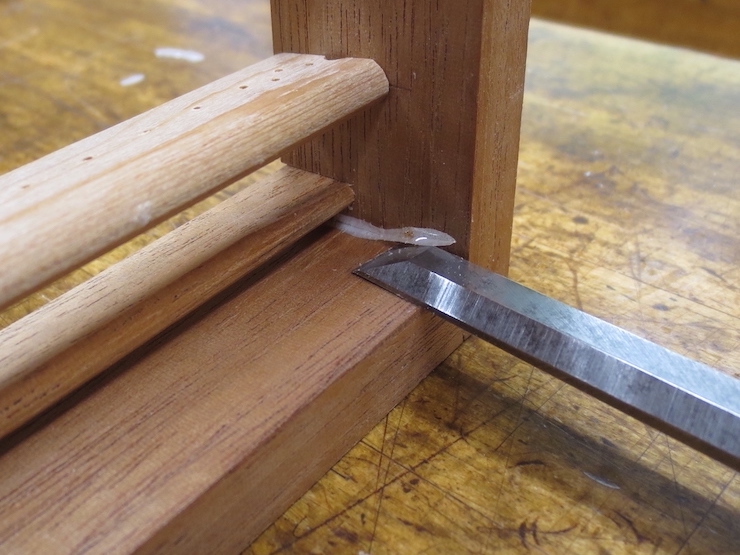
Squeeze out around the brace rod end is easy to clean off with a chisel.
Applying a little paste wax with a toothbrush after dry-fitting the parts but before gluing helps the excess epoxy come off a little easier.
