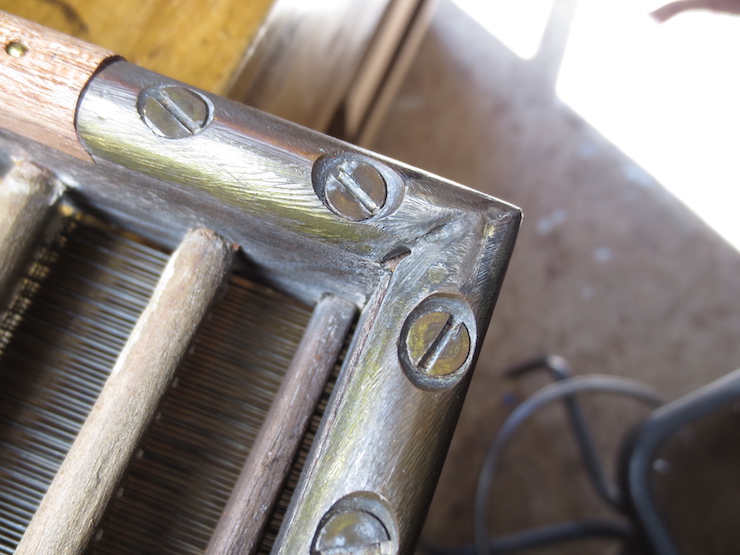
The bottom edges of paper moulds are often protected by the addition of corner braces and rub strips. Here is an older style brace made of brass. You can see that this one was made by soldering two pieces together.
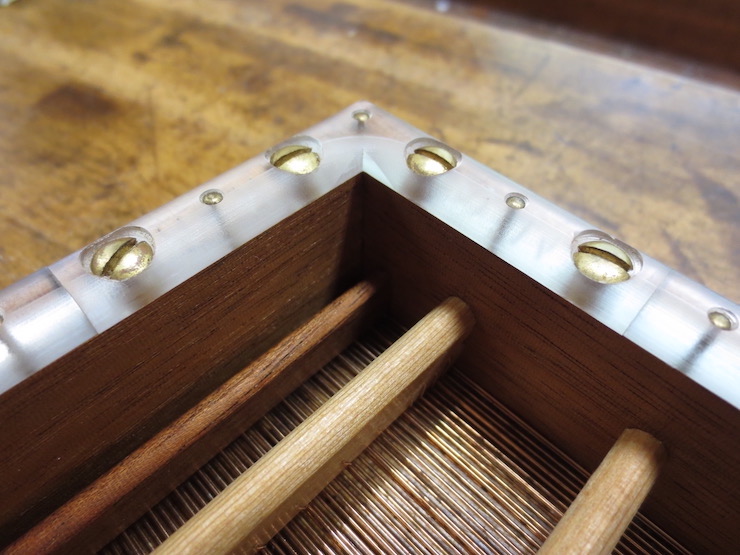
The moulds I’m working on for this series of posts have braces and rub strips made of polycarbonate. This is a very tough material. It is used for glazing storm doors and such, shields on machine tools and, lately, for covid shields in stores and supermarkets. Narrow off-cuts (scrap) are usually big enough for making the parts needed for moulds. This plastic can be machined with ordinary woodworking tools. It tends to be very flat and fairly stiff, both good qualities for making moulds.
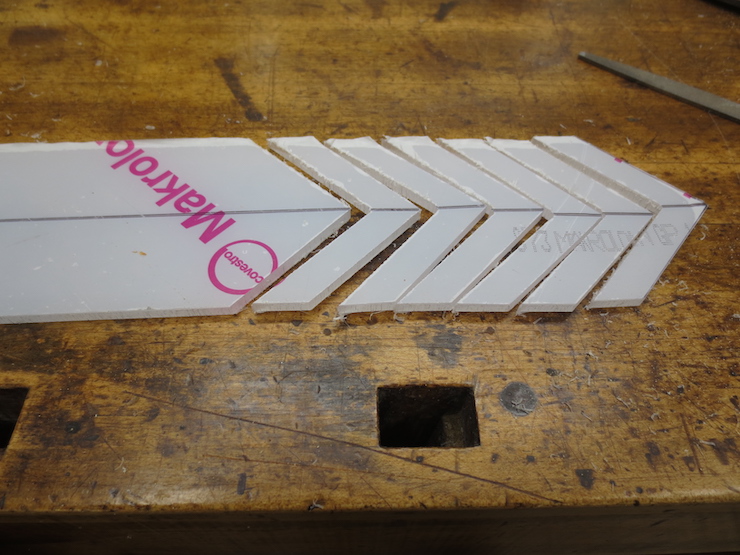
A strip is cut to a suitable width and the center line is marked to show where to stop the cuts when sawing out the L shaped pieces.

The pieces are sawn slightly oversize so their edges will hang off the sides of the mould frame a little. The rough edges will be removed when the bottom of the mould is rounded.

I make enough for several moulds at the same time. The burrs left from sawing need to be filed off before the next step.
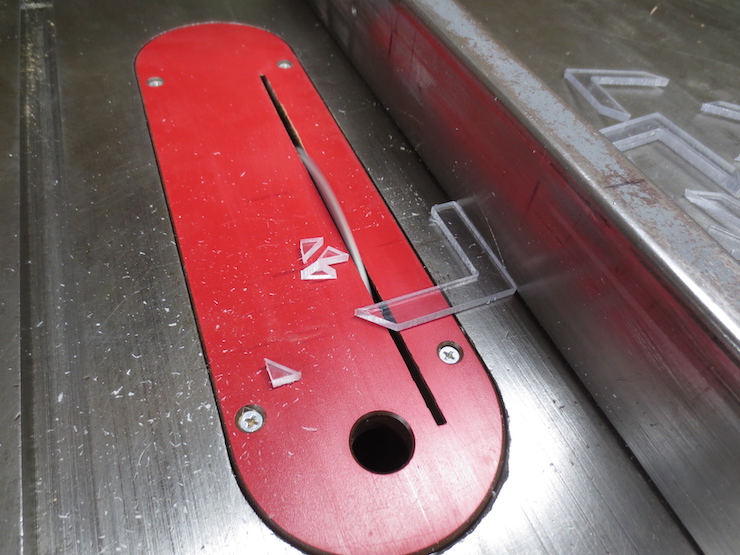
Using the hollow ground planer blade to saw the ends square. These brackets measure two inches on a side.
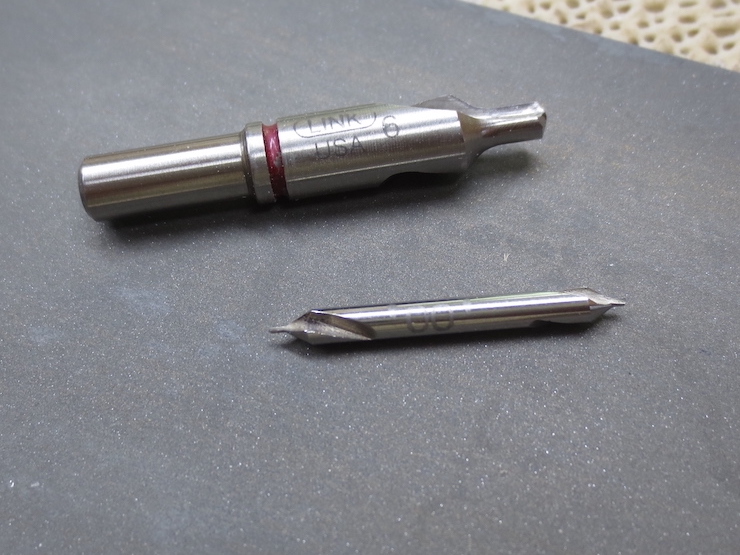
A couple of special tools make things easier. The drill on the top makes a countersunk hole for a standard #6 screw. The #00 center drill on the bottom starts a tiny hole for the #18 escutcheon pins that will be used to tack the brace to the bottom of the mould. The wider part leaves recesses for the head of the escutcheon pins to fit into. Center drills are used by machinists to prepare material to be held between centers on a lathe.

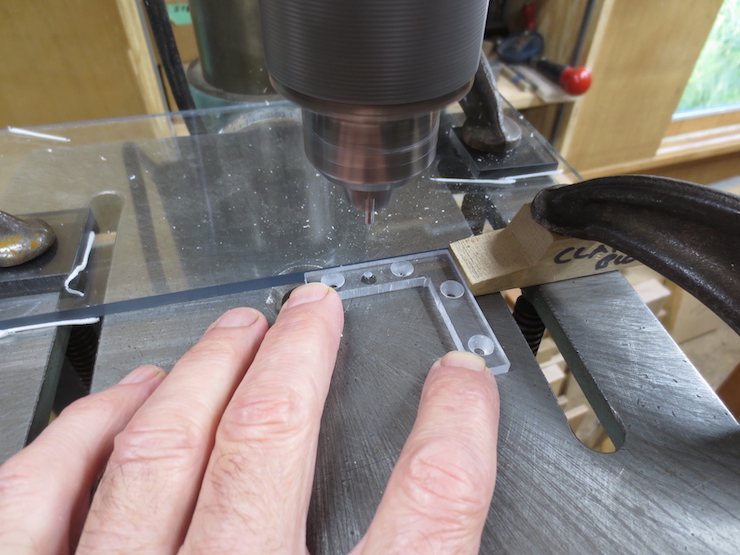
A fence is clamped to the drill press table to keep the holes centered. A stop is set to drill the first hole in all of the parts and then moved to determine the locations of succeeding holes.

These burrs must be removed before moving to the next hole. This can be done by hand using this countersink.
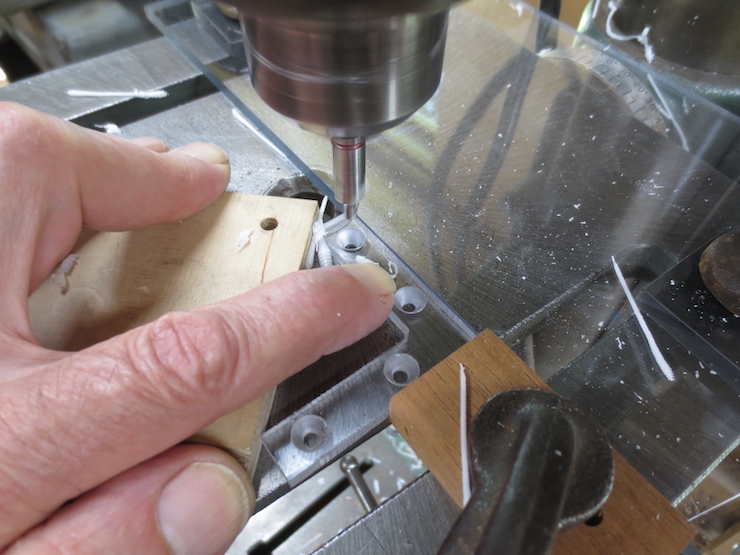
Drilling the last of the four holes. Larger moulds sometimes have larger braces with six holes and screws.
I start drilling for escutcheon pins using the center drill. The pins make it easy to install the braces and, in theory at least, add a bit of grip between the braces and the mould.

The center drill doesn’t reach all the way through. To drill the rest of the way I choose a number drill that leaves a tight fitting hole to drive the pins through. The tight hole keeps the pins from working out. (Number drills are a series of 60 small drills that range in size from .040″ (#60) to .228″ (#1). )
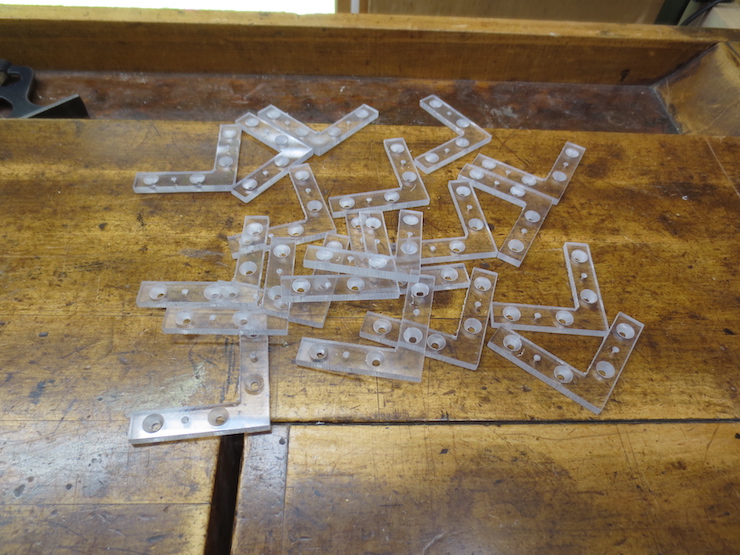
All the braces needed for the five moulds being made.

Many years ago I was inclined to copy traditional moulds more closely. I made patterns and had bronze braces cast for this reason. I believe that many braces on old moulds were castings but I now know that some were made of soldered pieces of half round brass.

In the back are cast bronze braces including one set that are finished and ready for a mould. Making braces this way is a lot of work. The white ones are made of acetal. These are much easier to make, lighter weight and very tough. They were made in the same way as the polycarbonate ones described in this post.

Here is some half round brass that I have recently purchased. At some point I’ll try mitering and soldering this material to make some corner braces.
See “Post # 62 Soldering Brass Corner Braces“.

Hi Tim, Nicely written and photographed. Thanks for sharing.
On Fri, Sep 10, 2021 at 5:34 PM Timothy Moore Bookbinding Tools wrote:
> scobeymoore posted: ” The bottom edges of paper moulds are often protected > by the addition of corner braces and rub strips. Here is an ‘old style’ > brace made of brass. You can see that this one was made by soldering two > pieces together. The moulds I’m working on ” >
LikeLike
Thanks Mark! I’m happy that you enjoyed the post.
LikeLike