For these moulds both the braces and rub strips are made from polycarbonate sheet.
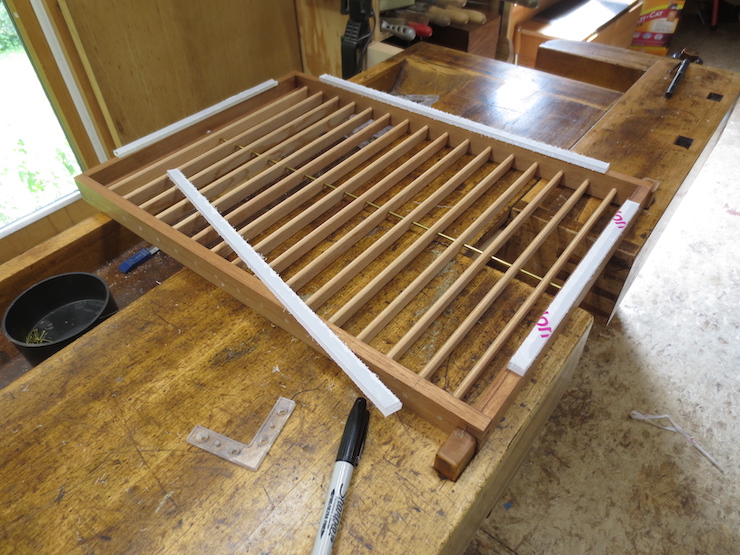
To make rub strips narrow pieces are sawed and cut to length. Like the braces they are made slightly oversized and trimmed off later.
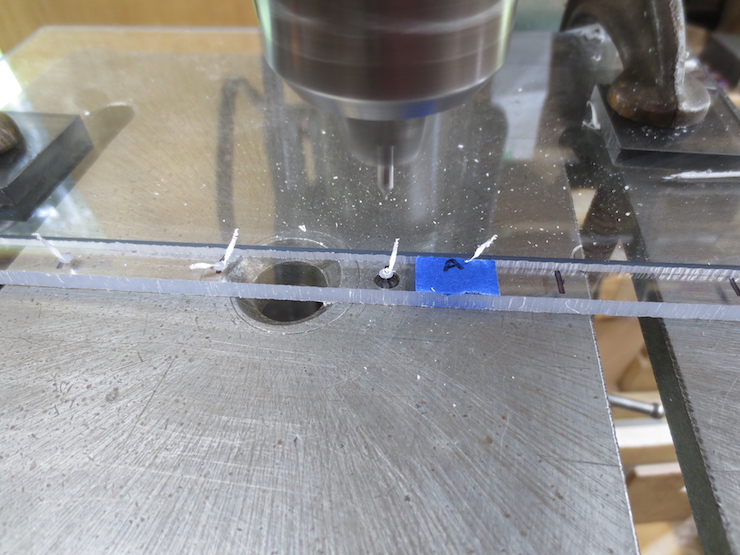
Rub strips are attached with brass escutcheon pins. They are drilled in the same way that the braces were in the last post. First with a #00 center drill…

…then with a small number drill.
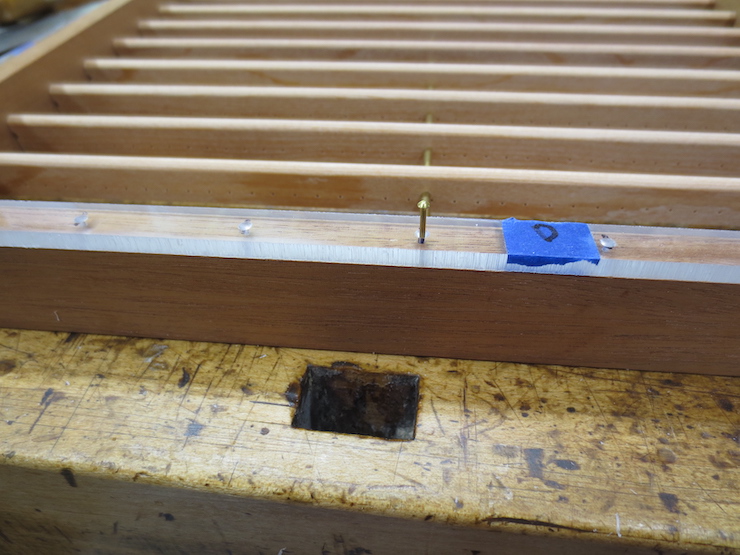
The strips are nailed on with 1/2″ long #18 escutcheon pins.
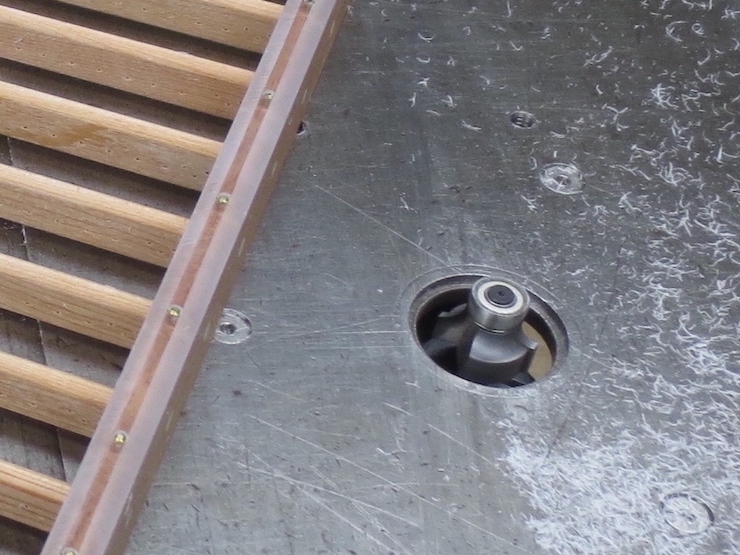
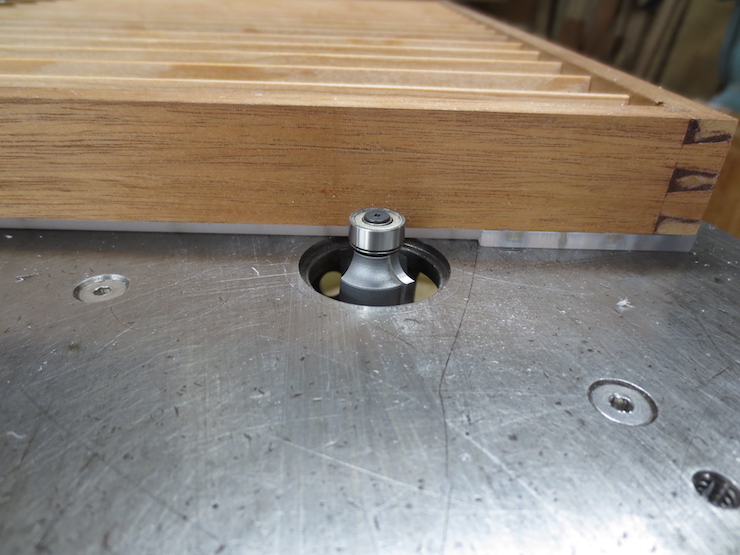
After they are attached the strips are rounded off with a router. This machines off the overhanging material so the ends can be accurately trimmed to fit the braces.
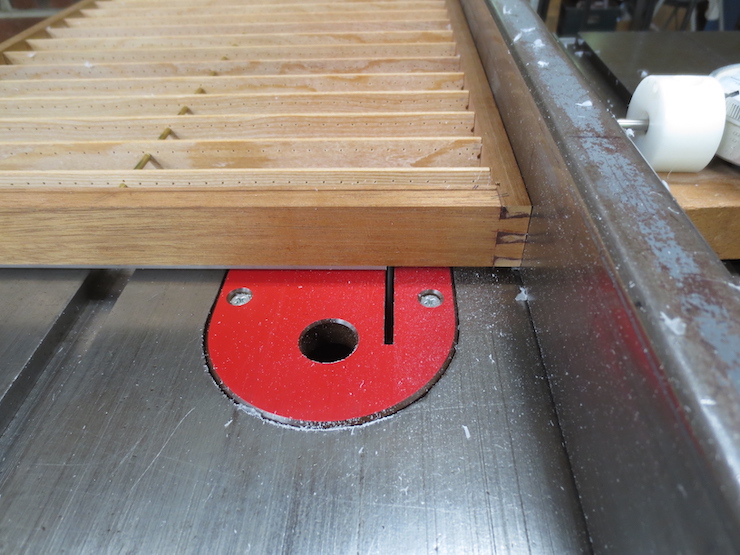
This is how the ends of the rub strips are trimmed square. Once again, the hollow ground planer blade is used.
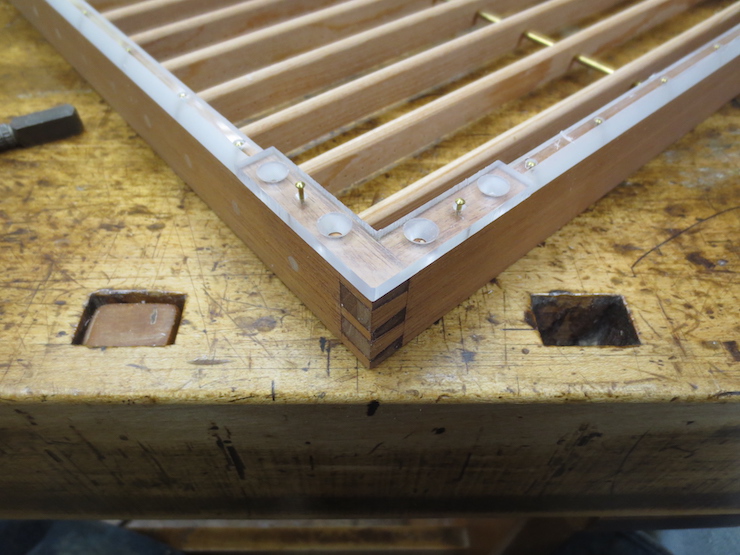
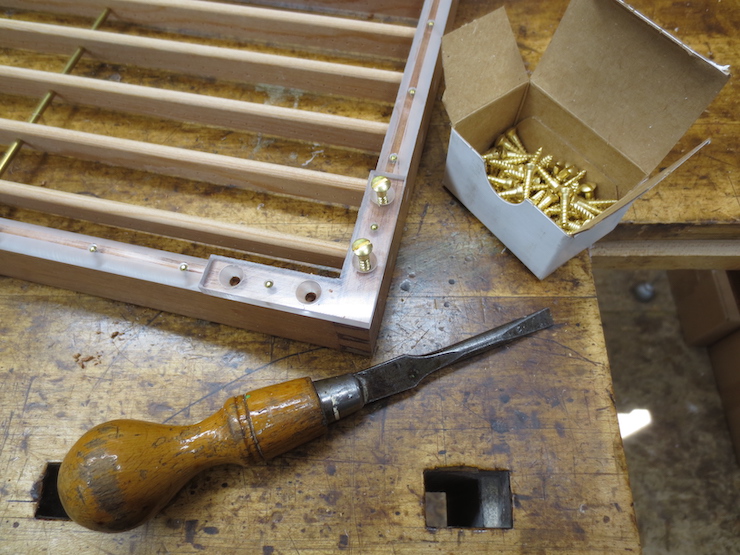
Now the braces can be nailed in place. The heads of the brass pins are driven down into the recesses with a carpenter’s nail set.
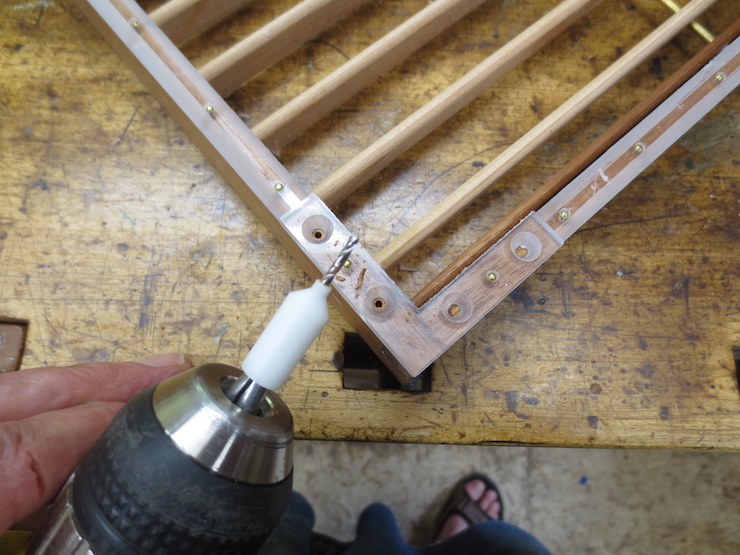
This white plastic guide fits into the countersunk holes to guide the drill so the pilot holes for the screws are centered.
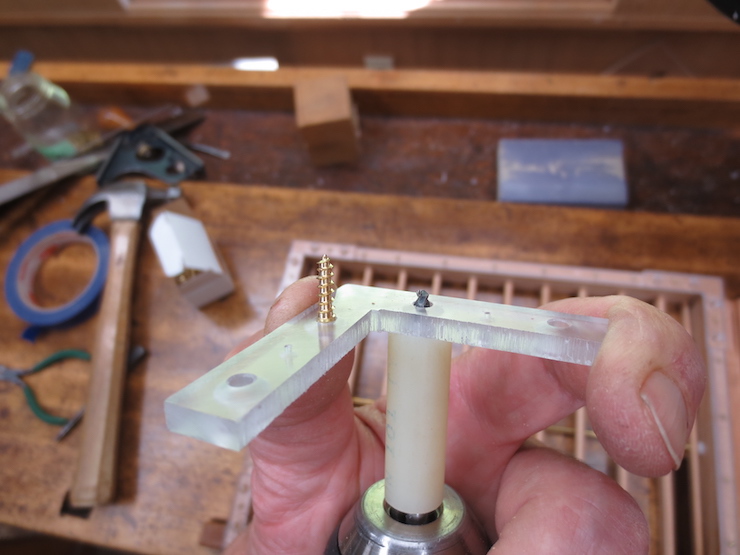
A larger hole is drilled a little way into the wood to accommodate the unthreaded part of the screws.

This tool is just a ‘stop’ to keep the hole from being drilled too deep.
I use these oval head brass screws because I think they look nice though flat head ones would also be fine.
Now the bottoms of the braces are rounded to match the rub strips.
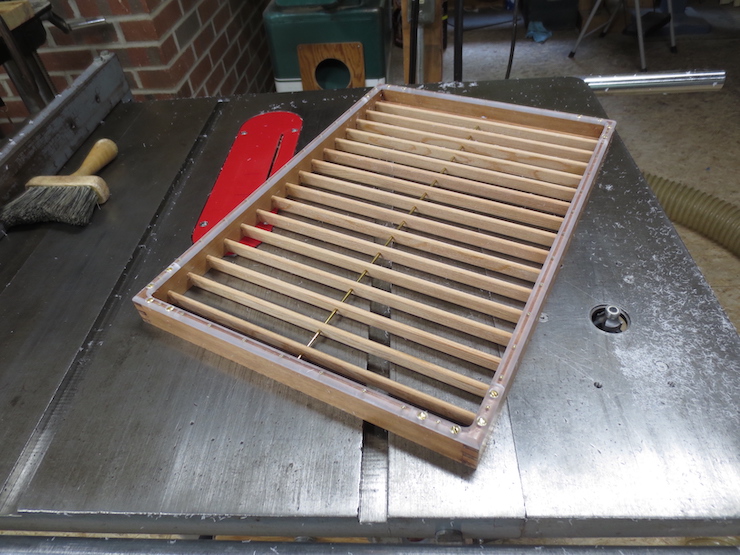
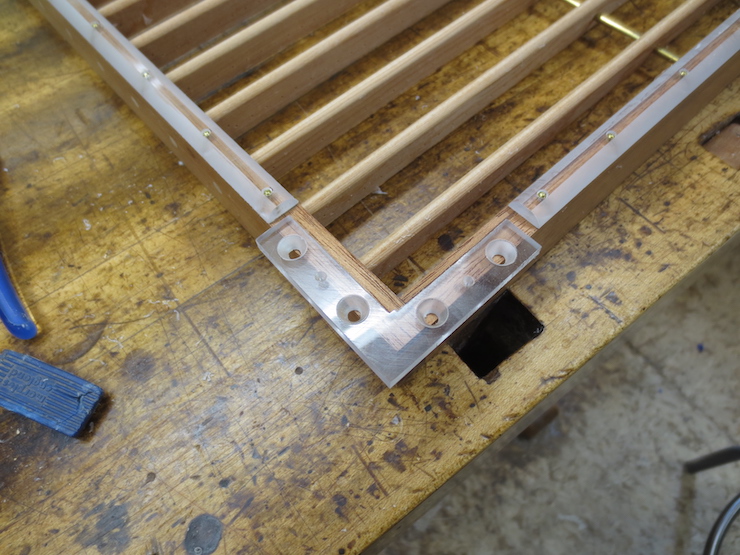
Corner braces strengthen the mould and protect it from shocks. Both rub strips and braces reduce wear on the bottom edges.
