
The first step in putting a mould together involves only the ribs and the four pieces of the frame. Other parts; a brass brace rod and extra ribs called waterbars will follow.
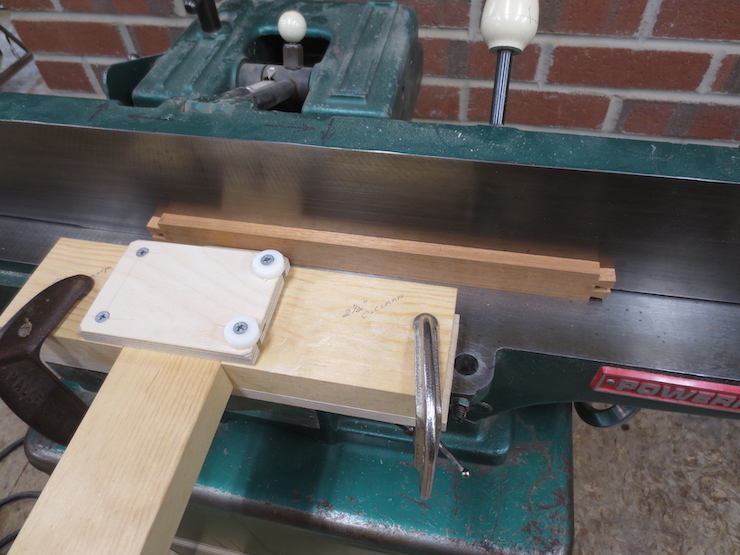
You may recall that one edge of each frame piece was intentionally left rough. This bottom edge is now smoothed by a single pass over the jointer.
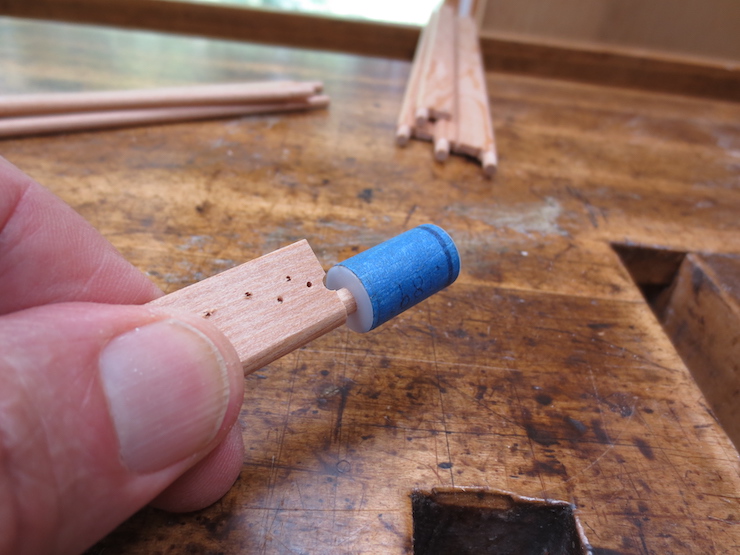
Compressing the pegs by twisting them into a sized hole smooths out the facets left from the twelve sided rib peg tool. This also makes the ribs easier to fit into the holes in the sides of the mould.

Ribs are lightly sanded mainly to remove the little bits of wood that are left from drilling all the sewing holes.
The inside surfaces of the frame are also lightly sanded.
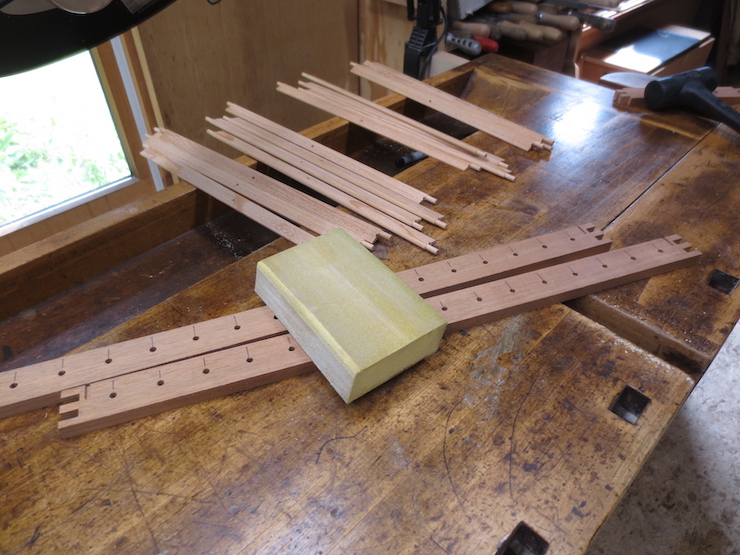
One end of each rib is inserted into a hole.
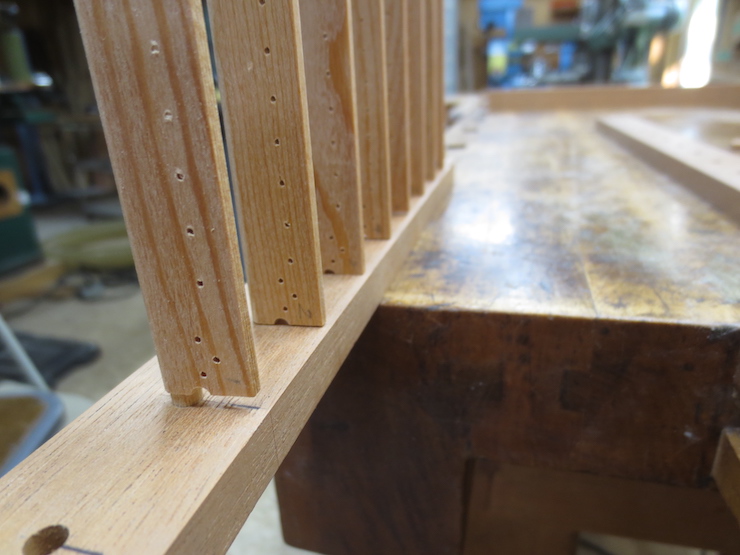
The penciled numbers are used to keep the ribs in the proper order.
Four ribs to go.
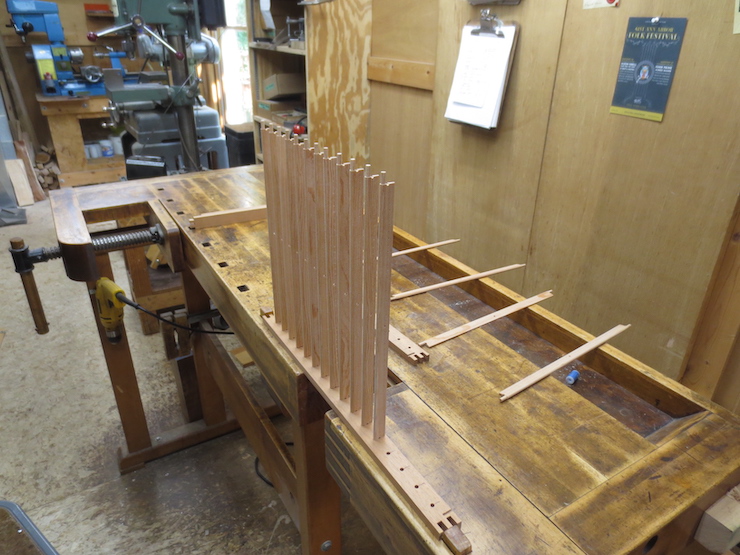
After all of the ribs are fitted in one side the whole assembly is carefully turned around so the free ends can be started into holes on the second side. One at a time, ribs are gently twisted back and forth while pushing them down. All will end up about halfway into the holes at each end. In this photo only the first and last rib (not visible here) have been moved down.
This just shows how the ribs move down as they are re-positioned. Three ribs have been moved down partway into the holes of the opposite frame piece.
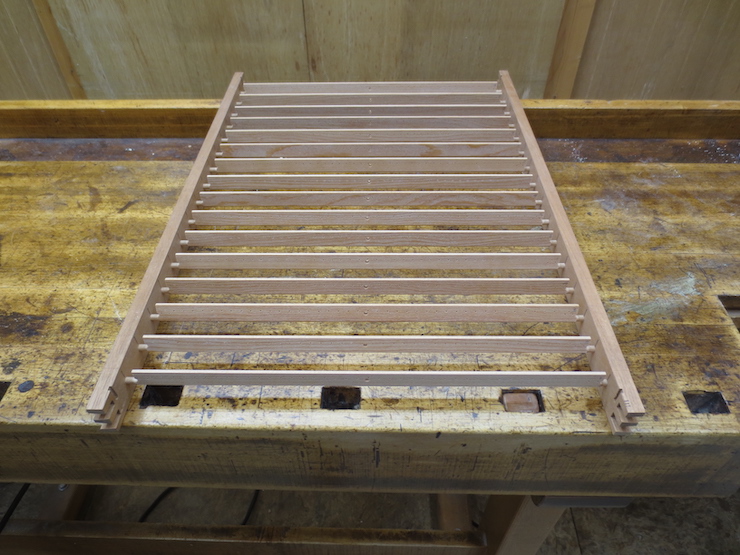
When this step is completed the mould looks like this. The rib pegs are all about halfway into their holes.

Now the frame must be pushed in from both sides. This is done gradually as the sides are gently tapped together in small steps. Care is taken to tap evenly across the length of the frame, keeping the sides parallel. I turn the mould around each time so the sides get tapped from both sides equally.
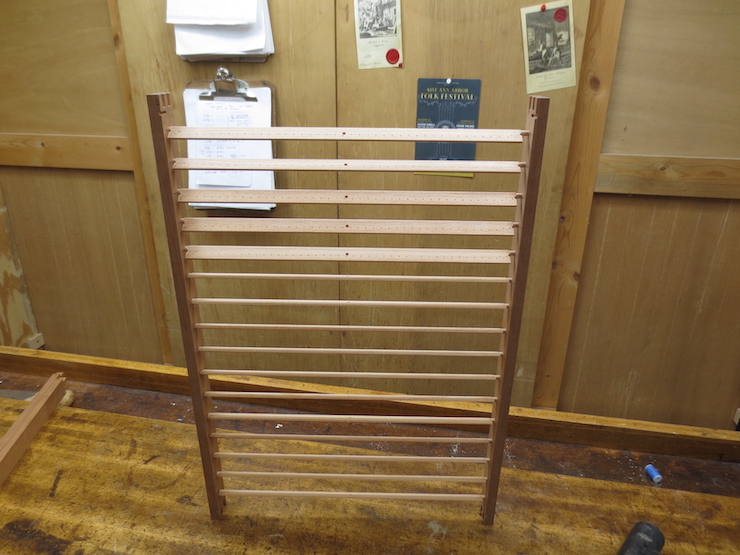
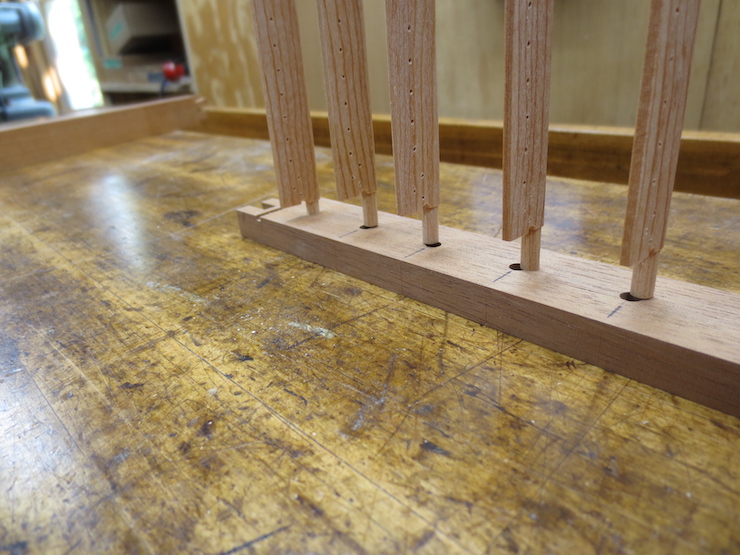
After each stage of tapping all of the ribs are turned a bit in their holes. This is important. Here the top five ribs have been ‘flipped’ down a little by my thumbs running down the sides. If the mould is assembled without doing this the ribs can become locked in; turned at odd angles. It can become difficult to straighten them and there is even a chance of breaking a rib.

When the pegs are all the way in their ends will be flush with the outside of the mould. Now they are aligned with the scribed marks on top. Both ends are rotated at the same time to make a rib stand nearly straight up; then each end can be individually nudged into position.
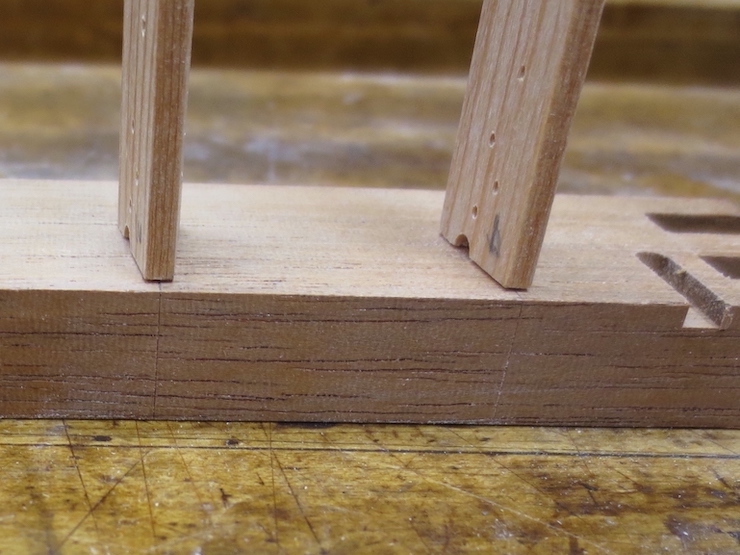
The narrow top surfaces should be centered on the scribed lines.
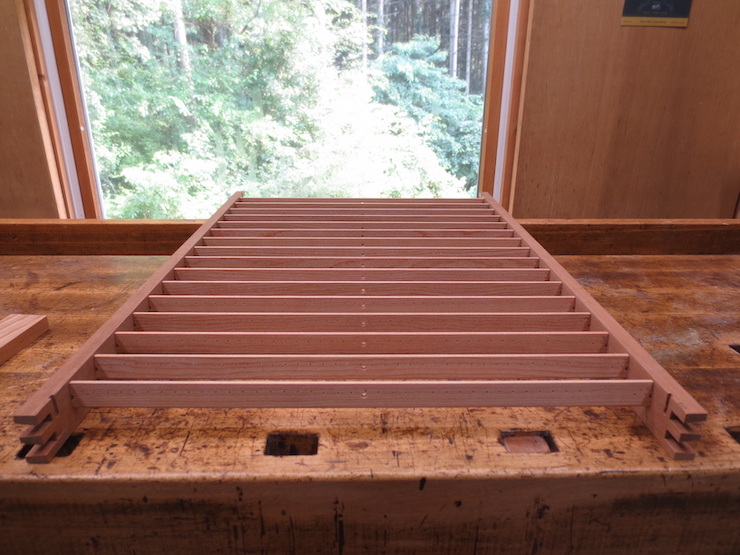
Now the ribs are completely inserted and aligned.

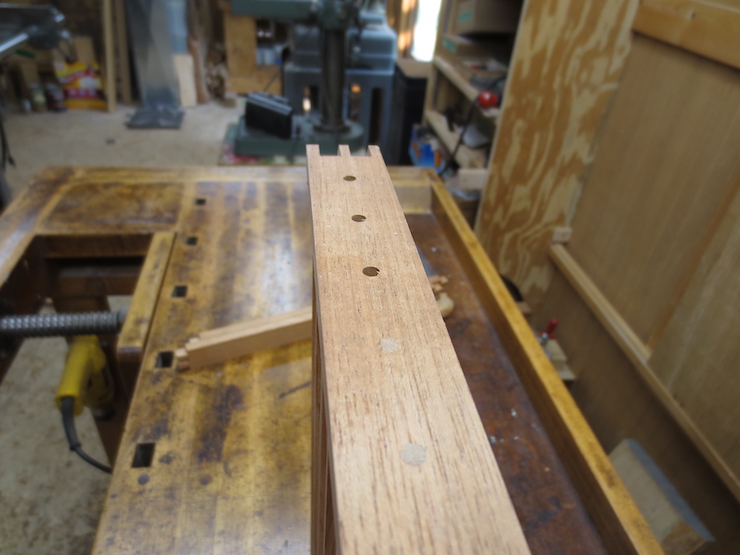
The holes drilled to receive the brass brace rod now line up perfectly.
The ends of the mould can be fitted in place.
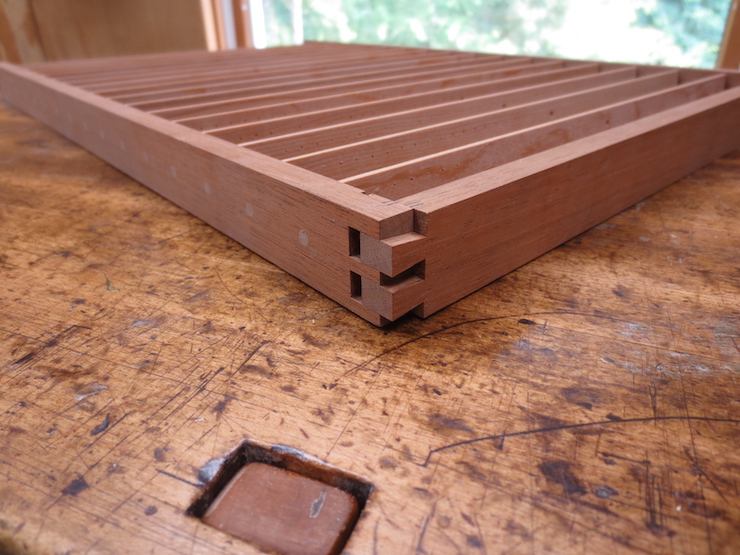
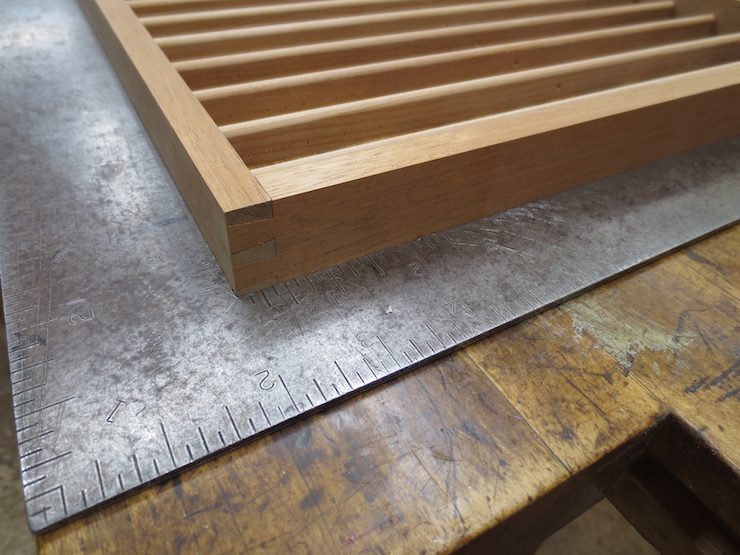
The mould frame should be square, or very nearly so. This is the cumulative result of the care taken to make all of the pieces, ribs and frame, as straight as possible, with ends cut perfectly square; and of being certain to drill the rib peg holes into the frame at exactly 90 degrees.
This batch turned out very well!
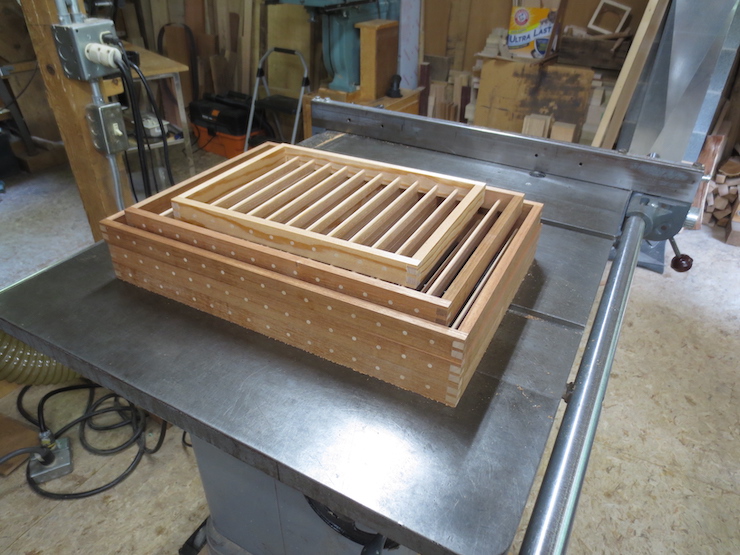
Five assembled moulds, ready to be fitted with brace rods and waterbars.
