This is the last of four posts describing this way of shaping a traditional deckle joint.
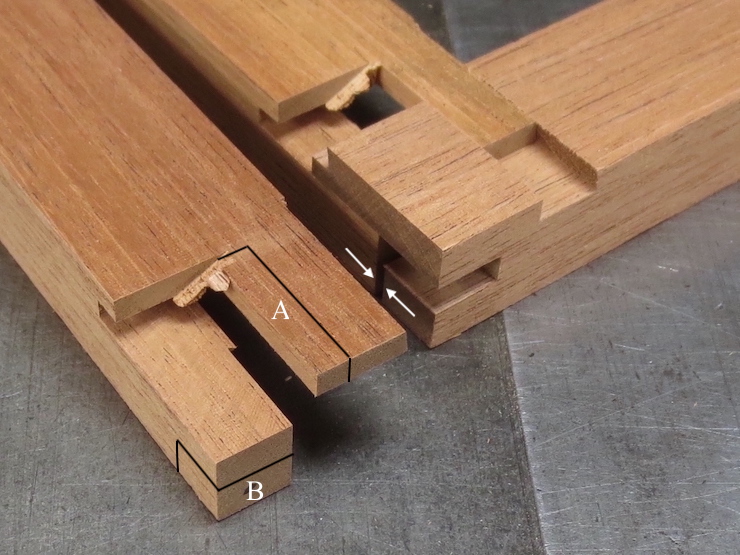
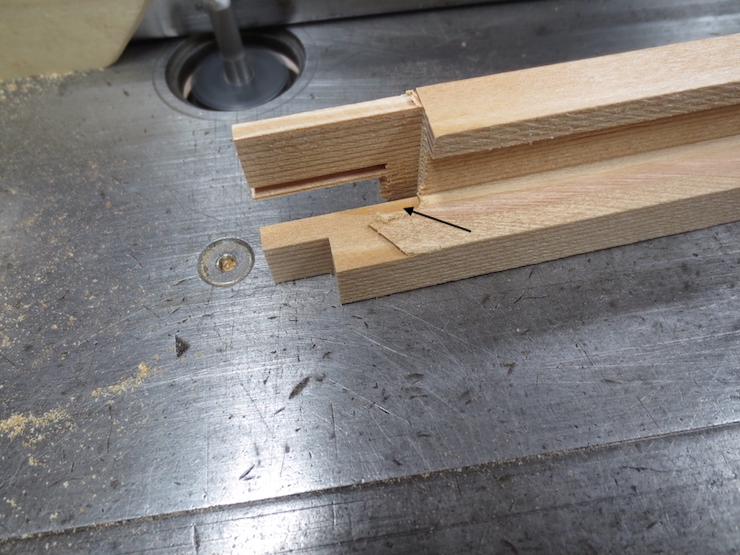
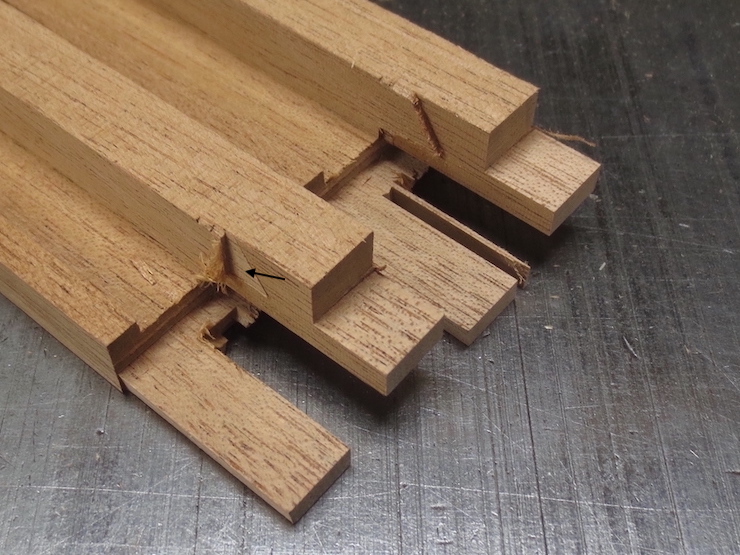
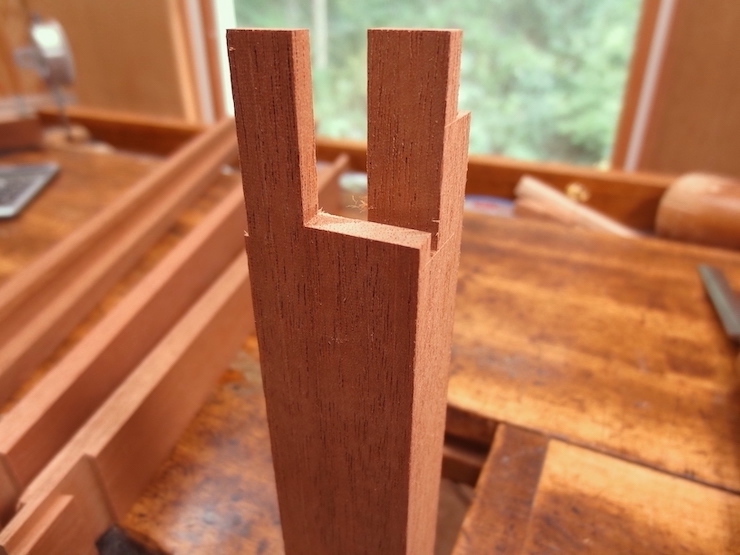
At the end of the previous post we left the joint at the stage shown at the back. Cutting away the part labeled “A” has made it possible for both tenons to slide partway into the joint but the end of the lower tenon (marked “B”) will bump against another part before the joint can close very far. The two white arrows show where this will happen. Cutting away the area marked “B” will let these parts lap over each other to enable the joint to close farther.
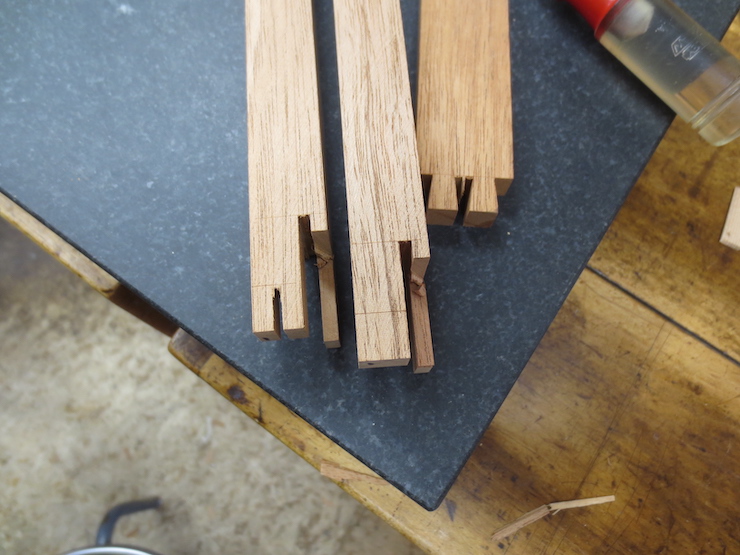
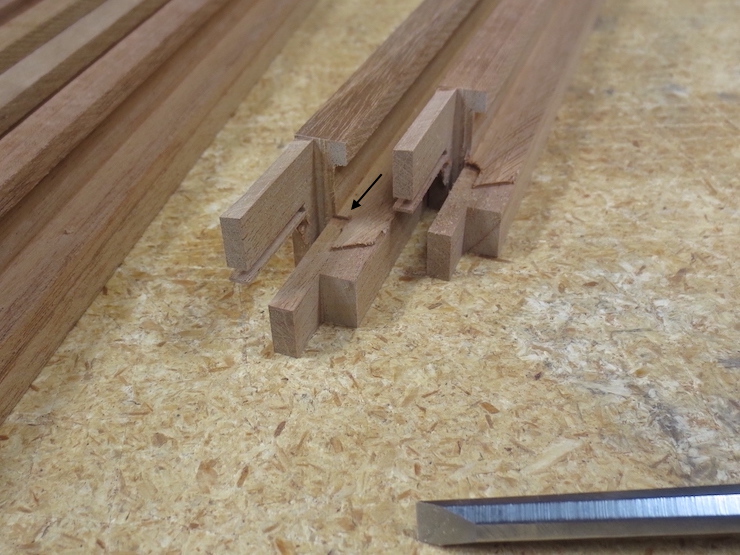
The piece at the left has received a saw cut, the first step in removing ‘area B’ (above). A line has been scribed with a marking knife to reduce chip out.

A cross cut finishes this part of the joint so it can lap over the other half.
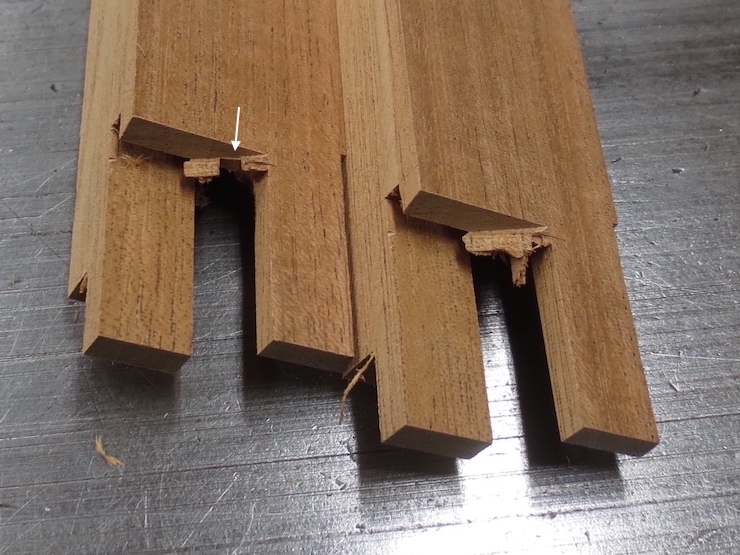
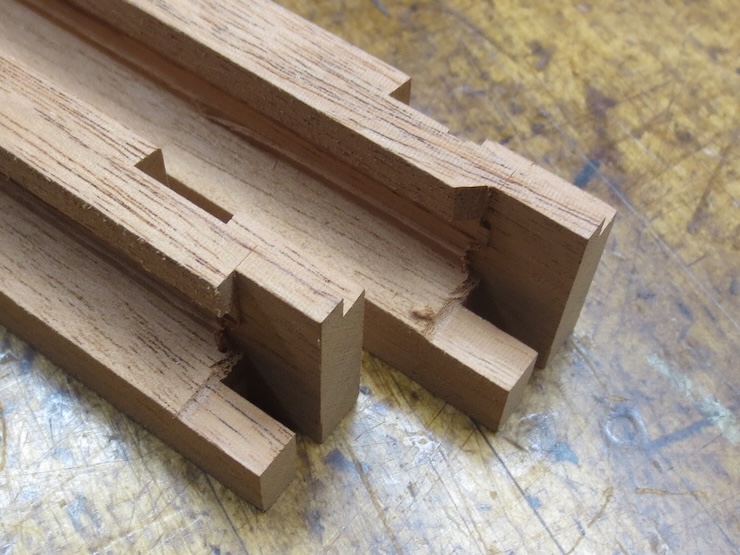
The parts on the left have completed lap joints; at the right the cross cuts haven’t been made.
The following five illustrations show unnecessary steps. The updates are indicated below in boldface along with three more illustrations of a better method.
This step routes away the next area that needs to be removed.
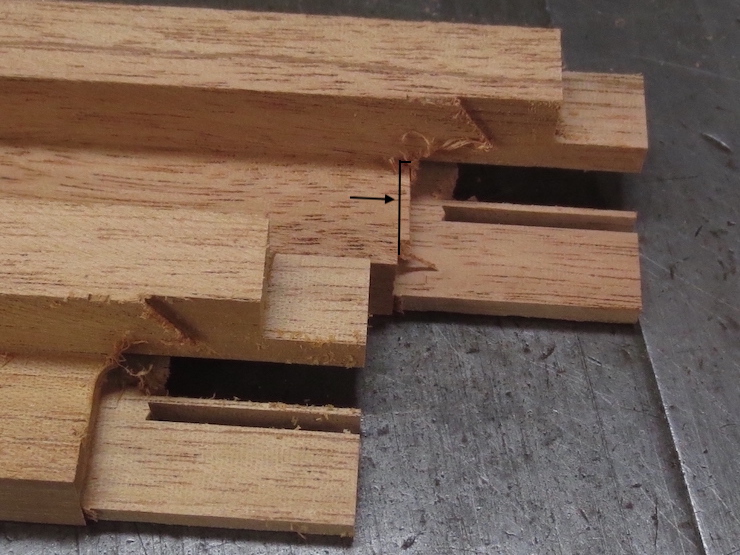
After the cut it looks like this. If not removed, this area would be the next hindrance to closing the joint; the next place the parts would ‘bump’. Note: routing away the deckle rim ahead of time or merely chiseling away one corner makes the cut shown by the arrow unnecessary. (See photos at end of post)
The radius left by the router is chiseled square (at the arrow).
Next the shoulder is widened on the underside of the dovetail tenon. When finished (as shown in front) it lines up with previous cuts made across the deckle rim and at the slanted side of the tenon. You may recall that these were both cut to the exact width of the deckle pieces. The line and arrow show where the part in the back still needs to be trimmed. Note: Altering the joint a bit to put the bottom of the deckle groove in the same plane as the slot eliminates the need to trim this waste.
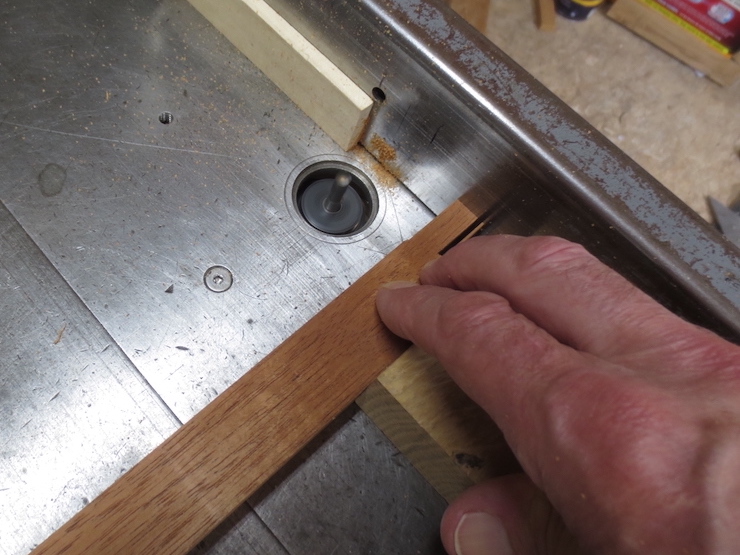
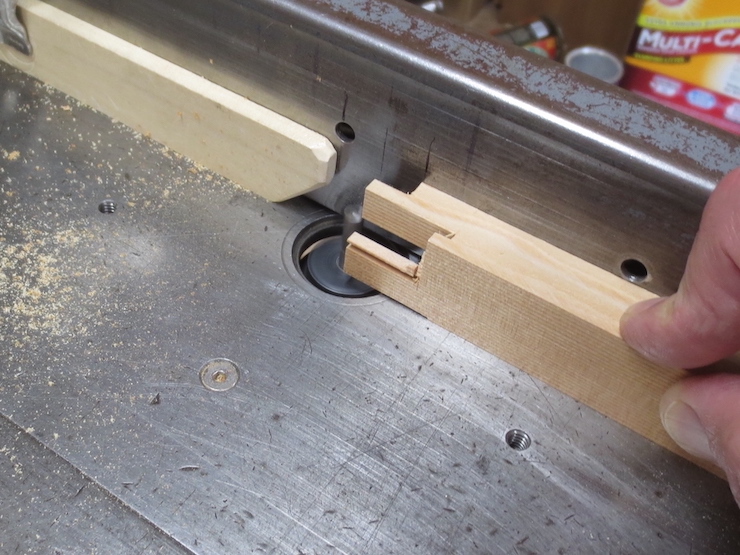
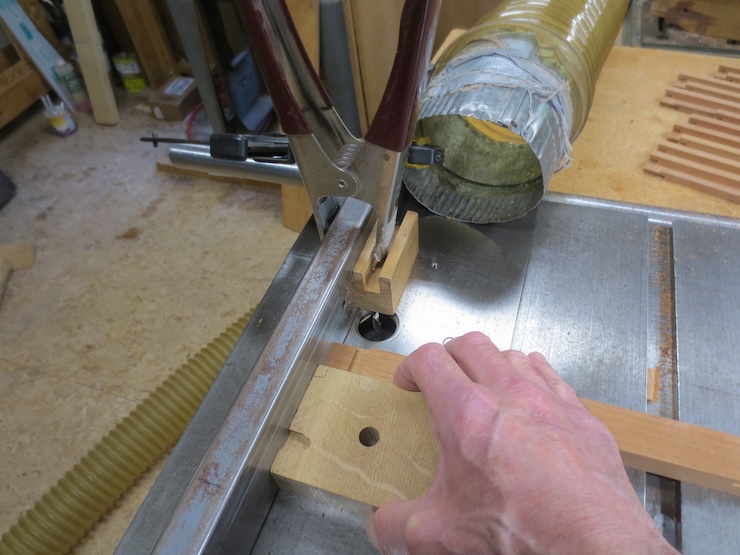
This is how this cut is made.
Photo updates: (There is always more to learn).

For this batch of deckles the joint has been altered to put the top of the slot at the same plane as the bottom of the groove that runs around the inside of the finished deckle. In the photo above the deckle rim on the left has been cut back to its final shape. Doing this step now rather than later makes the previous steps unnecessary.
The set-up for routing away the waste part of the deckle rim.

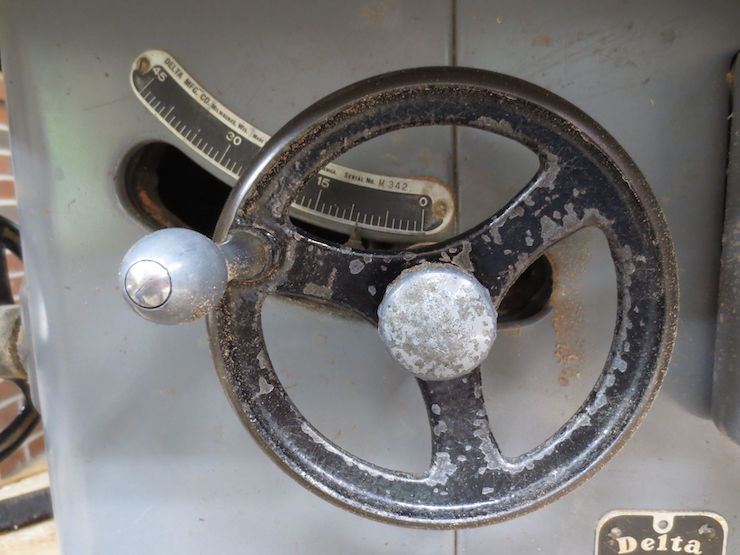
The saw blade is tilted 9 degrees for the next cut.
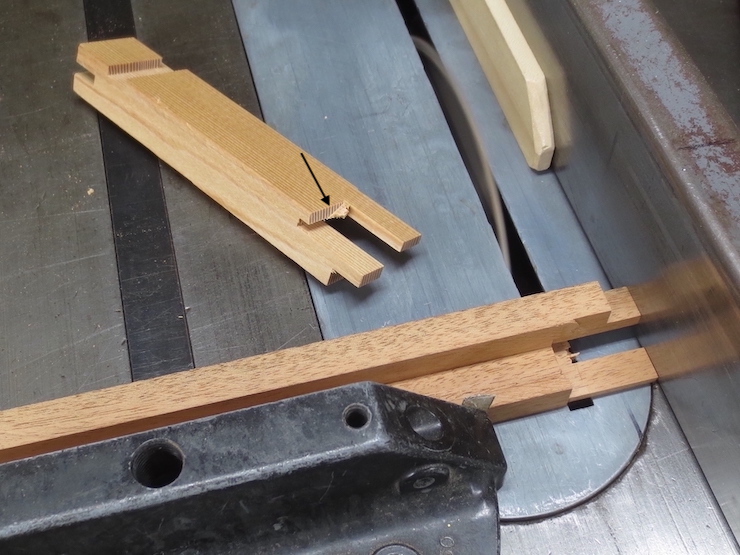
This allows the part to be cross cut at a 9 degree slant. The black arrow indicates the finished cut.
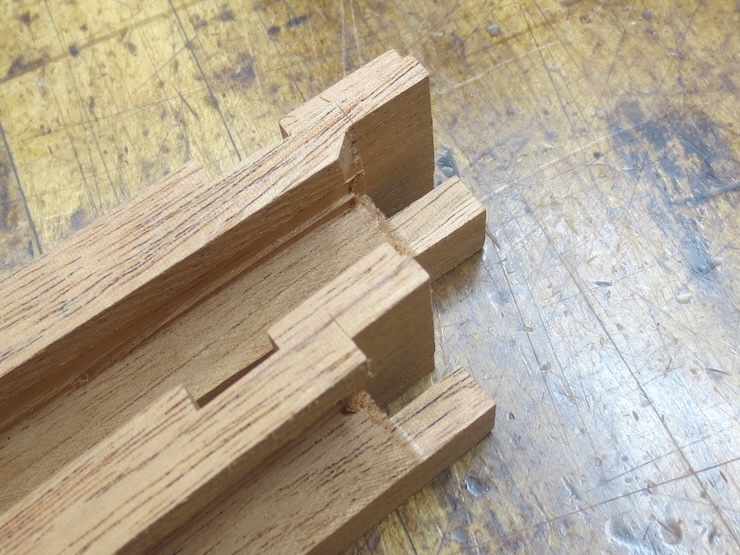
This shows how this slanted ‘dovetail’ face fits with the other side.
For this batch I made one more small cut from the bottom. This was not truly necessary but made it easier to chisel away the waste. Below the arrow you can see the routed area extending down into the waste.
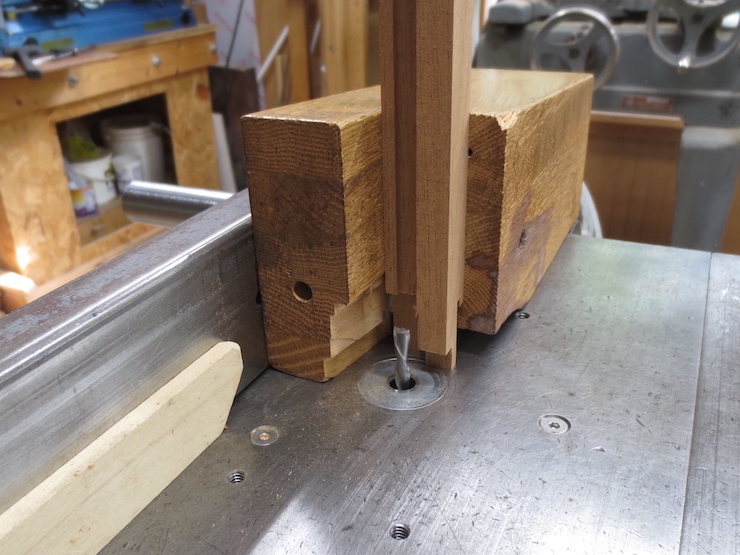
This is the set up used to route away the area shown below by the arrow.
The same cut seen from the other side.
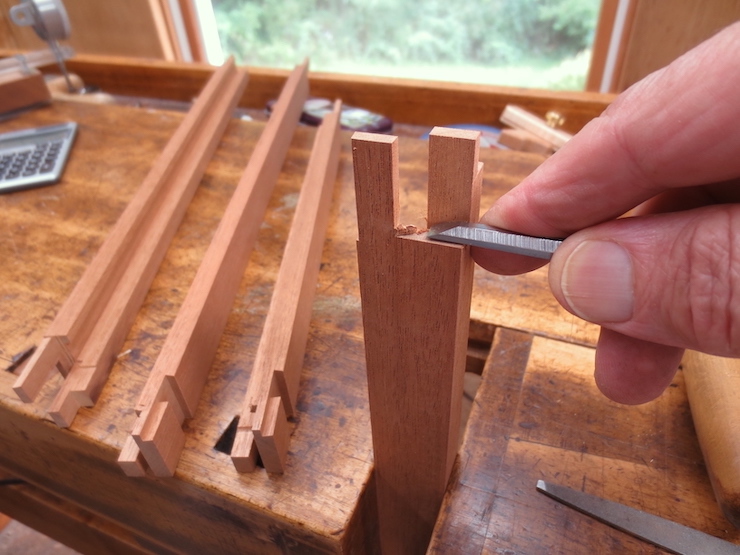
The uncut portion in the corner is pared away from both directions until the cuts meet and the waste falls away.
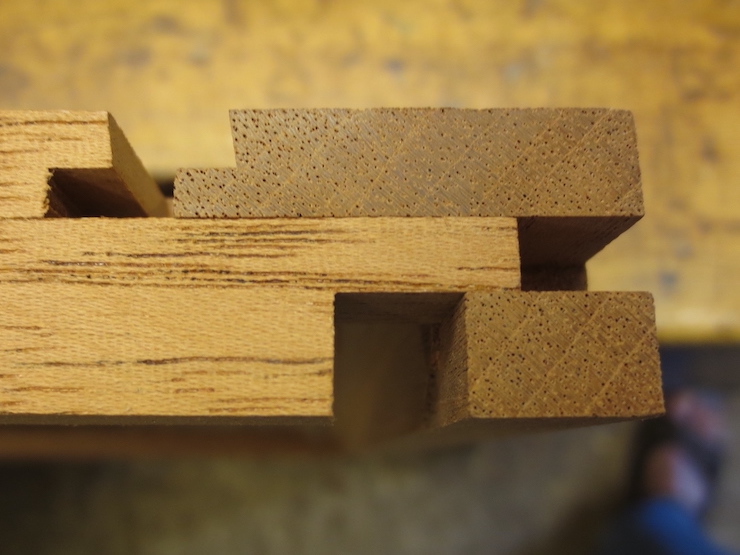
The joint is finished!
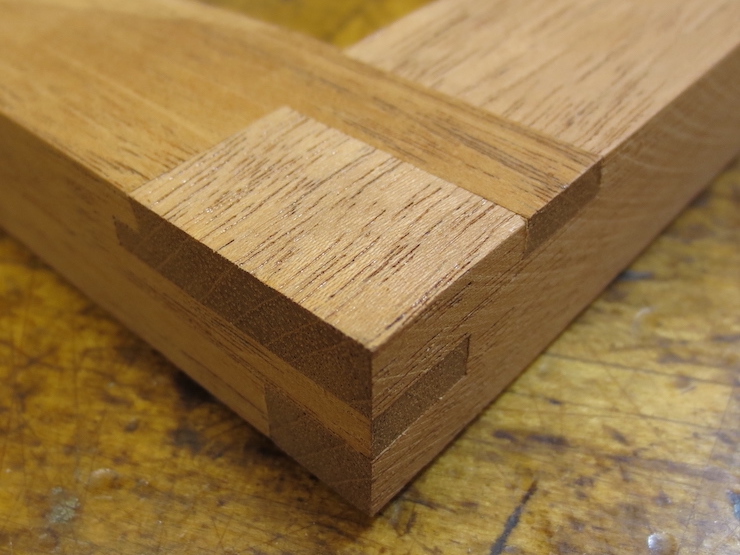
The parts of the joint now fit nicely together but several more steps remain to complete the deckle.
Edits to this post:
Chiseling away the corner makes routing a groove unnecessary.

After final trim the bottom of the deckle groove will be an extension of this surface of the joint.

Mr. Moore, you are truly inspirational. Thank you for all you share!
LikeLike