The joints have been finished and now the four parts can be put together to form a rectangular ‘frame’. But the parts still need to be adjusted in a couple of ways to fit the mould before the joints are glued. In this post the the parts will be trimmed to create a small gap where the deckle laps over the sides of the mould. In the next post the inner rim of the deckle will be shaped in a special way to fit snugly against the wire face of the mould.
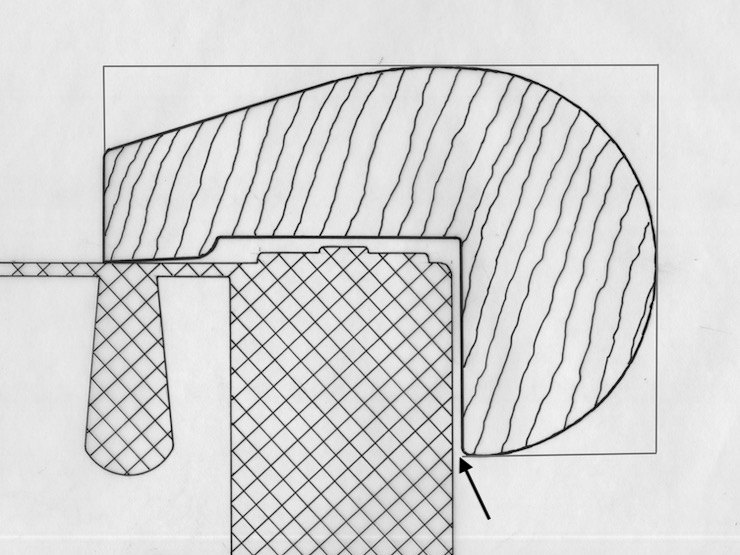
The arrow points to a gap where the outside edge of the deckle laps over the mould on all four sides. Making it the right width is the focus of this post.
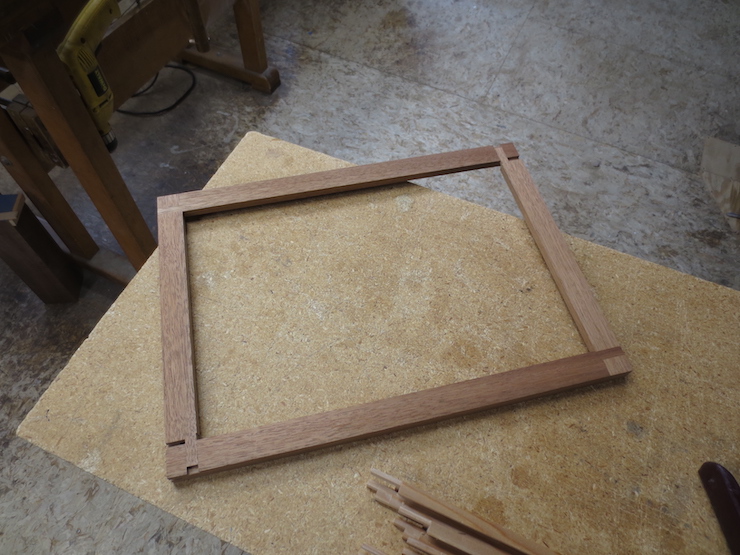
To start the process the deckle parts are fitted together with two opposite corners left loose.
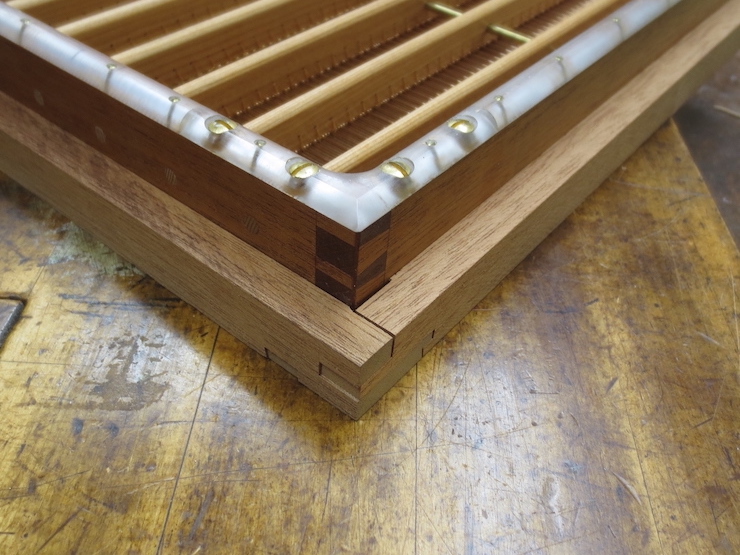
When the assembled deckle parts are pushed tight against the sides of the mould the joints of those two corners are unable to close completely. This is because the overlapping sides of the deckle have been (intentionally) left too thick. If you measure the gap left in the joints you can determine how much needs to be trimmed off. As a first step I cut away just enough that the deckle can fit over the mould with the joints fully closed.
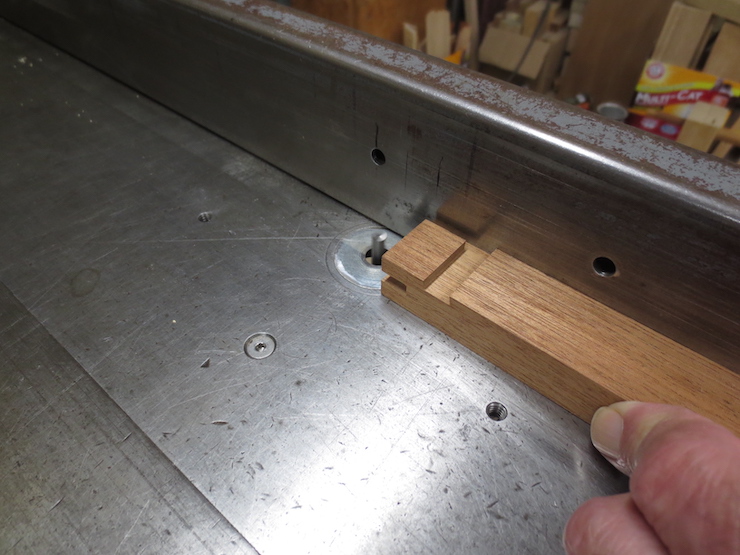
A router is set to nearly reach the bottom of the deckle groove and the table saw fence is set to make this preliminary cut.

The process seen from a different angle.
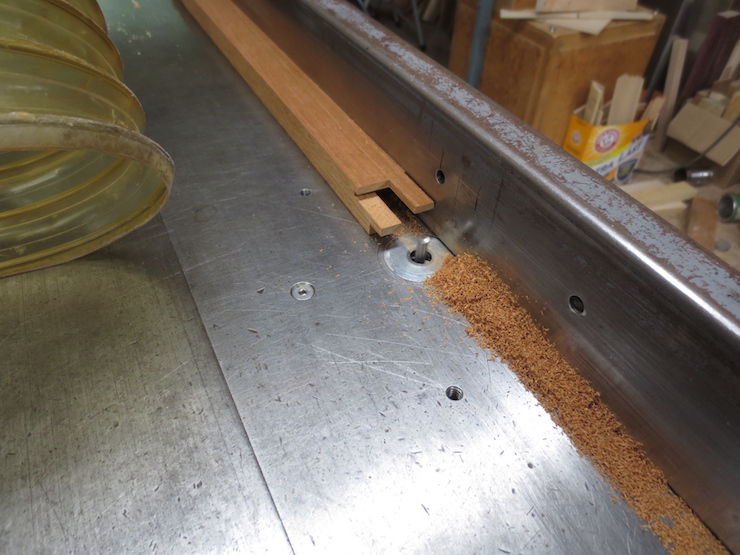
One part has been pushed all the way through. All four deckle parts are trimmed the same way before putting them back together.
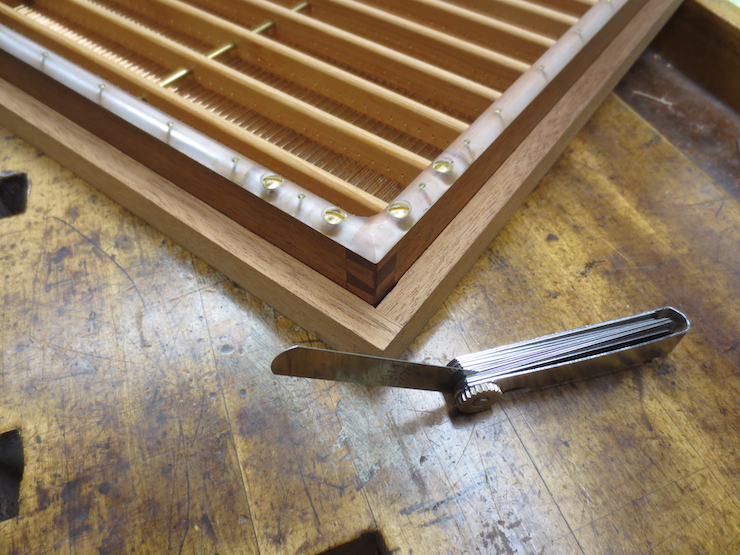
Now the joints can close completely but the gap between the sides of the mould and the inside edges of the deckle is still too narrow. It can be measured using a shim set.
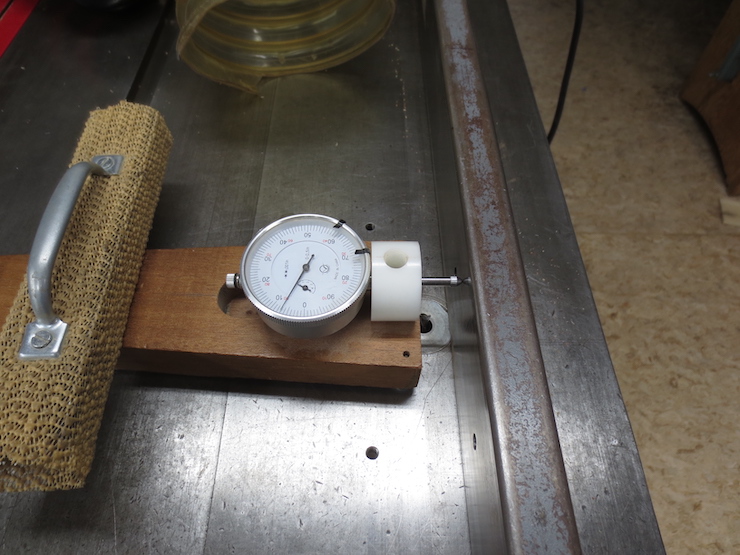
Using that measurement the table saw fence (which has been left just as it was) can be moved to cut away a little more. I shoot for a total gap of about .025″. (This when the deckle is pushed up tight against the mould on two sides; it is approximately half of that if evenly divided among the sides). This is not a super critical dimension and is most likely tighter than it needs to be. The deckle should not get stuck on the mould when the wood swells but the fit should not be sloppy either.

The routed cut has been interrupted to show what it looks like. It is important to avoid letting the router bit damage the inner surface of the lap tenon which is in nearly the same plane.
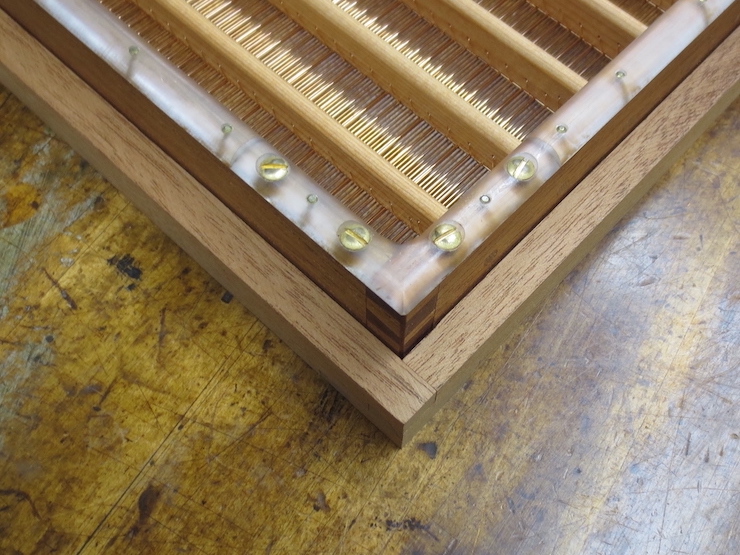
This is what the finished gap looks like. It is usually necessary to trim a little more off either the long sides or the short sides to make the gap the same both ways.
In the next post the inner rim of the deckle will be given subtle curves to insure a tight seal when the deckle is pressed against the wires of the mould.
