The end of the last post left us with two tenons ready to be fitted into spaces left in the other half of the deckle joint. Both tenons were cut to the correct thickness and now both need to be trimmed to width.

The simpler lower tenon is the first to be fitted. It only needs trimming on one side. The finished width is indicated by the black arrow.
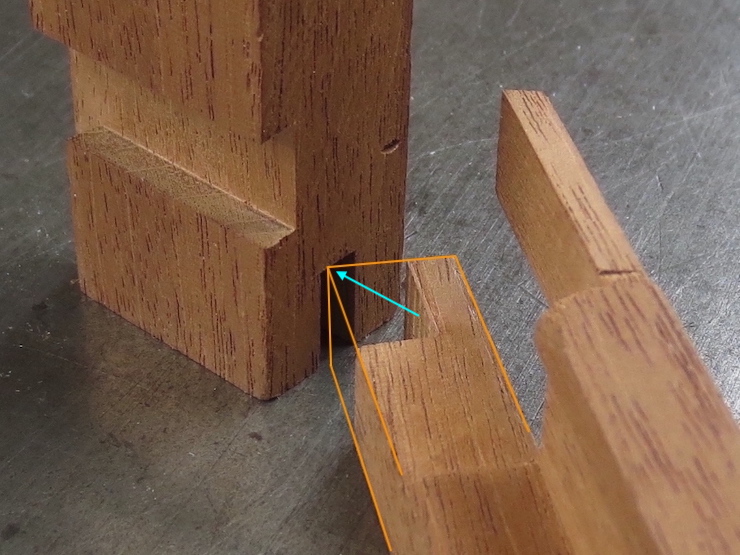
This is a view of how the width is tested. The corner indicated by the arrow should slide into the opening in the other piece. Since I neglected to photograph this step the orange lines have been added to show what the part would have looked like.
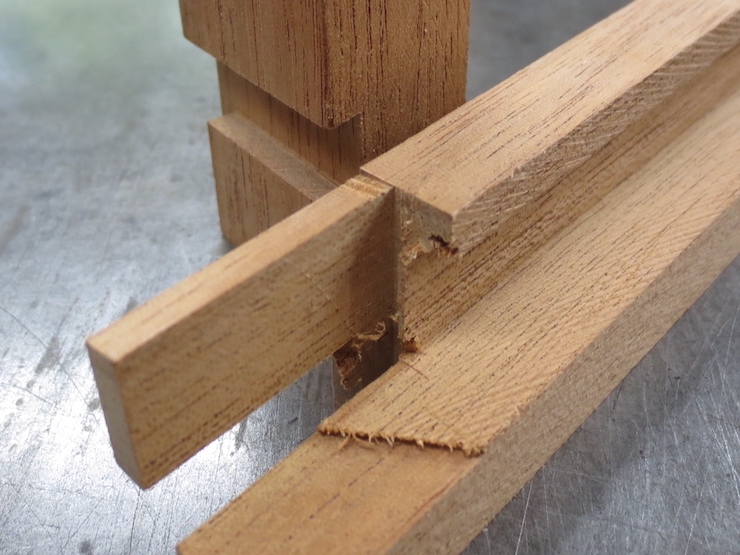
This photo shows how the width of the tenon must be sized to fit alongside a narrow edge in the other part of the joint. Again, the orange lines show how the part would have looked. The arrow points to the bottom corner of the inner vertical surface being fitted (hidden in the photo). The blue lines show how the other part would have looked at this stage. In practice the fit would be tested with the part on the left standing on end and both pieces resting on the flat surface. (This was difficult to photograph).
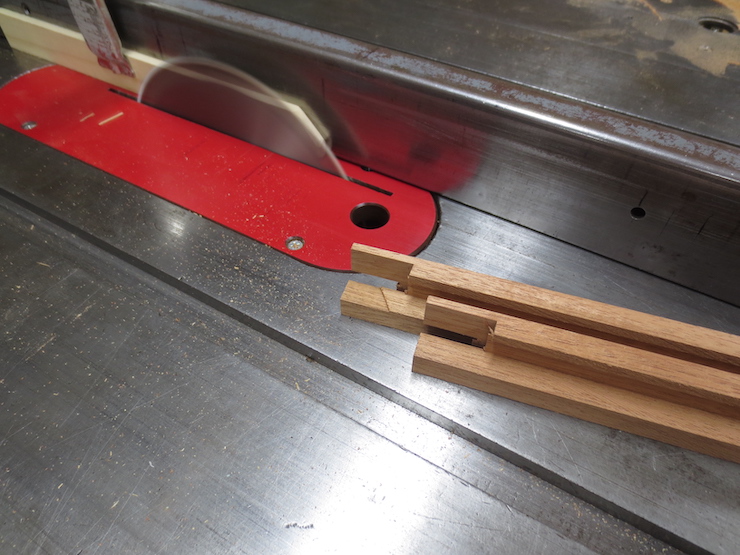
Here the fence of the table saw is set to trim the proper width and a stop keeps the cut from going too far. One part has been left un-sawn to show what the cut looks like. Fitting this tenon first allows the lap joint parts to slide past each other so the more complicated sliding dovetail part can also be tested, trimmed and fitted. If left untrimmed the lap joint would block the sliding dovetail from ‘starting’ in its groove (which is essential for testing its fit).
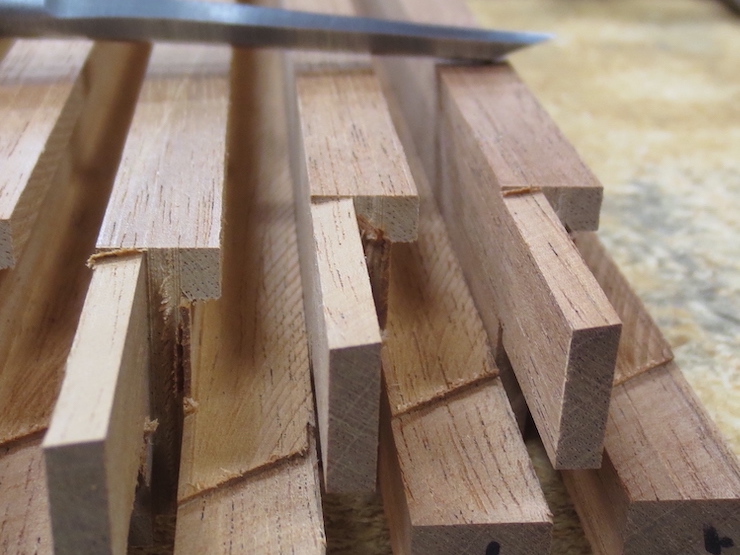
A very small cross cut is now made to establish the shoulder of the sliding dovetail tenon. It should line up perfectly with the previous finish cut across the deckle rim. (In the photo the fence still needs to be adjusted to make the cut a little further to the left). The saw blade is set to barely protrude from the top of the table saw and a ‘stop’ is used. The blade setting and the position of the stop must be ‘fiddled with’ more than usual to get the adjustments right before giving all of the deckle parts these tiny cuts.
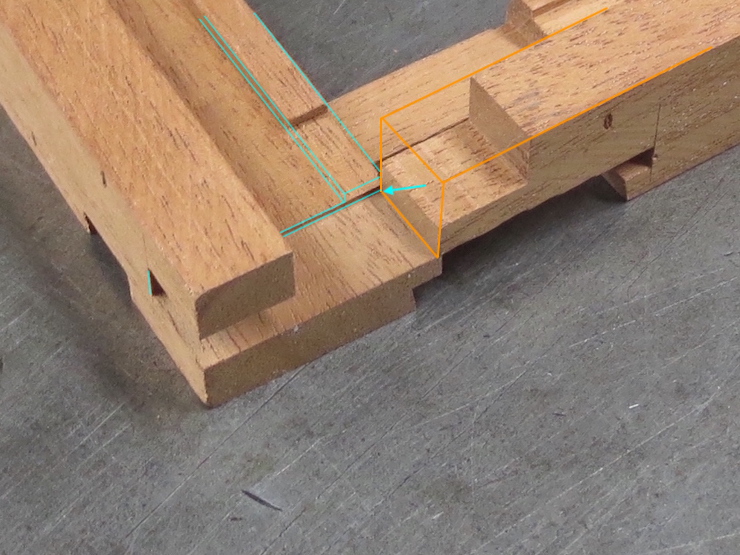
The shoulder now lines up perfectly so the sliding dovetail will be able to reach full depth in the groove after its sides have been trimmed.

The right angle block is canted 9 degrees by a special block screwed to one end. This enables the side of the tenon to be sawed to match the angled face of the dovetail groove.

The part on the left has had its 9 degree angled face sawn; the part on the right has not yet been trimmed.

As a first step the slanted edge of the dovetail tenon has been left a little ‘fat’. This photo shows a way to determine how much more needs to be cut away. The fit turns out to be good when the previously cut half of the joint is elevated on a .005″ shim (this has been determined by trial and error, the shims being in .001″ increments). This means that .005″ more needs to be trimmed off of the slanted side of the tenon. With the help of the dial indicator fixture the table saw fence can be moved precisely this amount to re-saw the part and correct the cut.
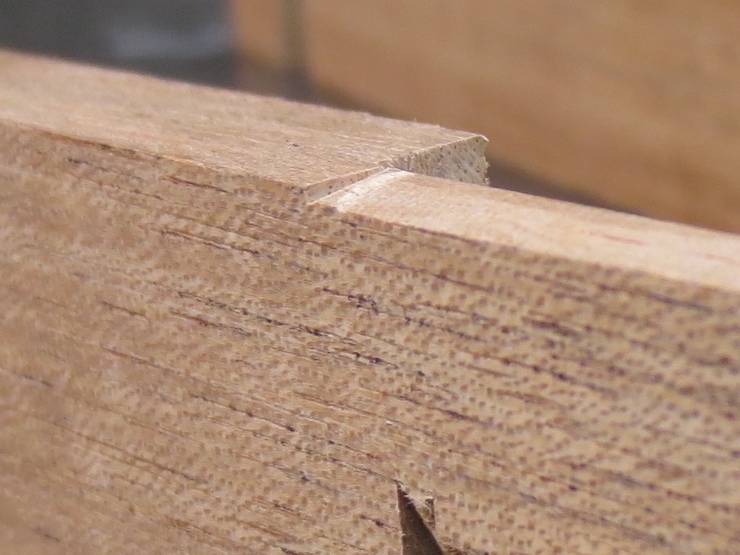
When all parts are trimmed a chisel easily removes the little bits that are left at the shoulders.
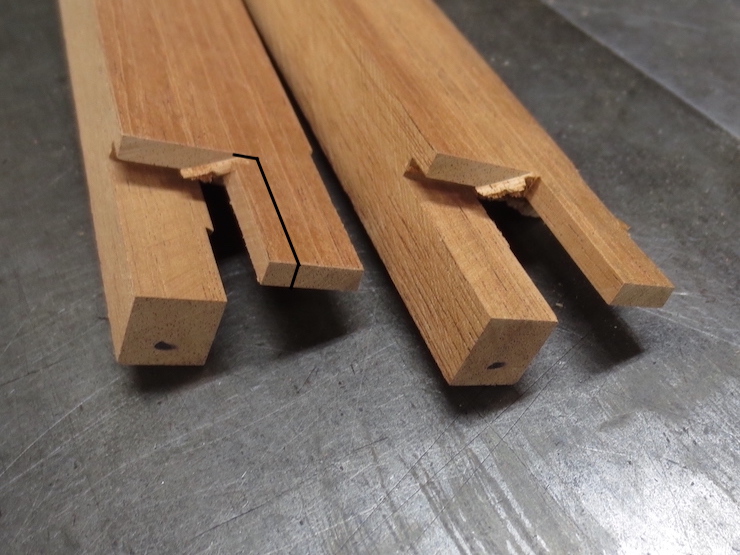
The slanted face has been correctly fitted and now the tenon needs to be cut to width so it can slide into the groove. The black lines show the part that needs to be cut away. The piece on the right has already been trimmed.

Using the dial indicator to adjust the table saw fence, the width of the tenon is reduced in small increments until the test part slides nicely into the half dovetail groove. Then all of the parts are trimmed the same. Before the joint can close completely a few other areas must be trimmed away. This will be described in the next post.
