The moulds have been made and now need deckles.
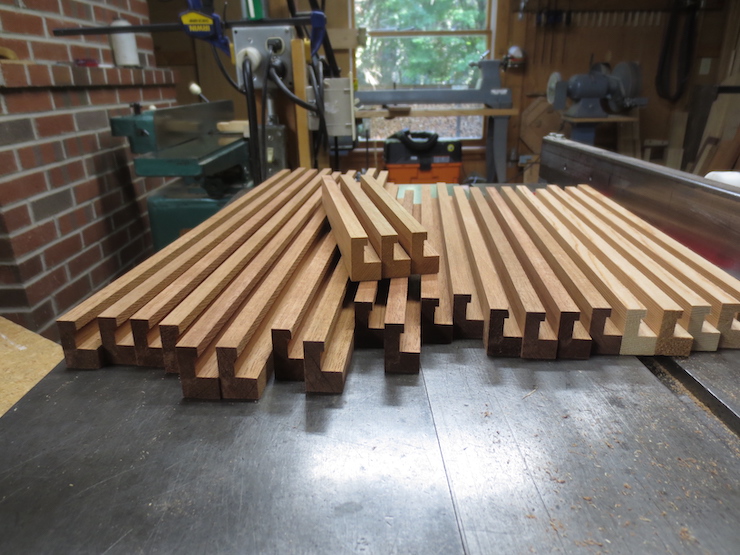
These pieces have already been put through some preliminary steps. For a review of these see the early post about seasoning and preparing wood. You may also wish to review the techniques used earlier to prepare the frame stock for the moulds, some of which will used below to prepare the deckle stock.
Using the jointer two adjacent sides of all the pieces are made perfectly straight and square to each other. These two finished surfaces are indicated here by red. In the finished deckles the narrower of these will form the vertical sides of the opening that defines the paper’s edges as sheets are formed.
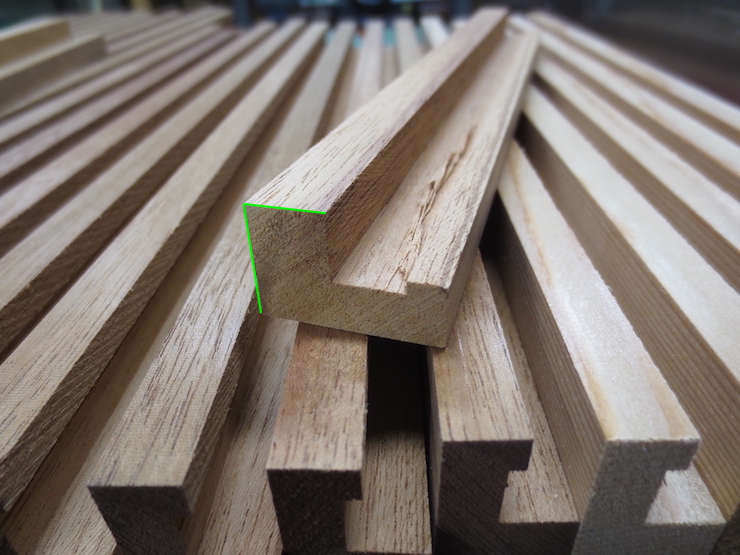
Next the two sides opposite are machined straight and square. Using the dial indicator with the table saw fence allows these deckle pieces to be cut to precise overall dimensions (width and height). These two surfaces (indicated in green) are left rough, straight from the rip saw. They may look ‘rough’ but are functionally very precise; accurate enough to be used as reference surfaces when cutting the joints. These rough surfaces will disappear later, being machined away as the deckle is shaped to its final form.
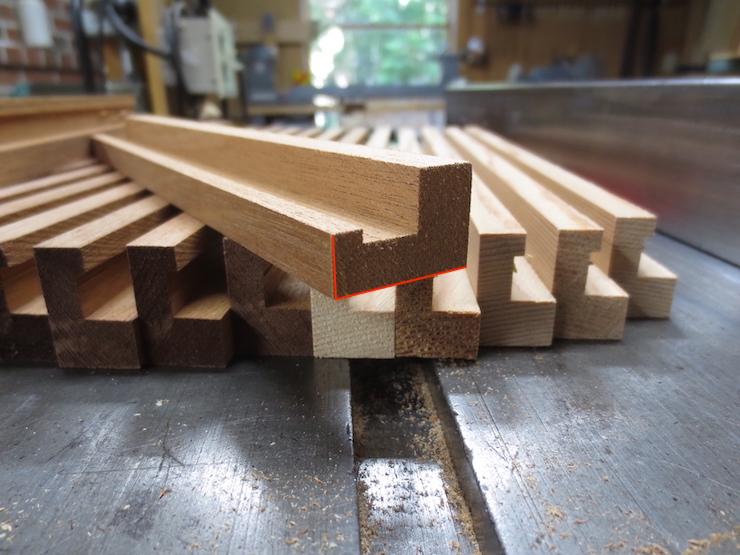
Next the top of the channel and the inner edge of the rim are machined to produce the final surfaces there. These are outlined in red in in the two pieces shown below. The piece on the left is only partially machined to better show the process above.

Some surfaces (outlined here in yellow, blue and white) will be machined later, after the joints are finished.
The next step is to trim the deckle pieces to exact length in preparation for cutting the elaborate deckle joints.
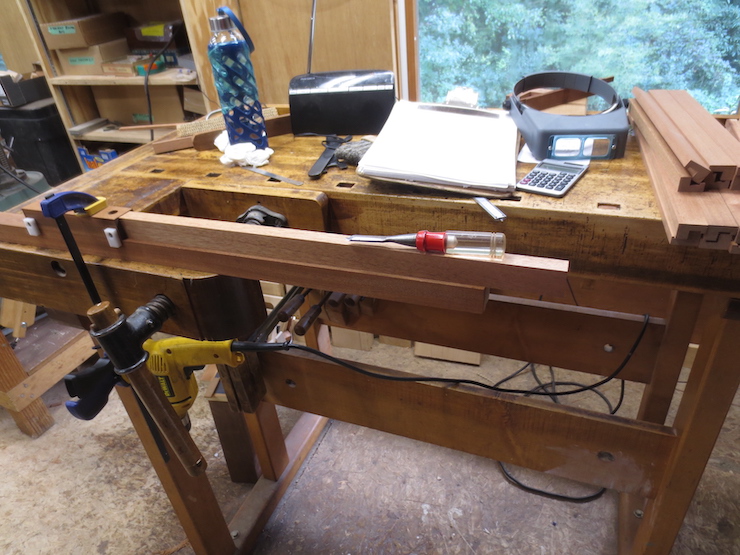
After all the deckle pieces have been trimmed square at one end the measuring beam is used to mark them for length. You may recall that this same beam was used to mark the lengths of the mould frame pieces. Using the same measuring device for both mould and deckle insures a good fit between them.

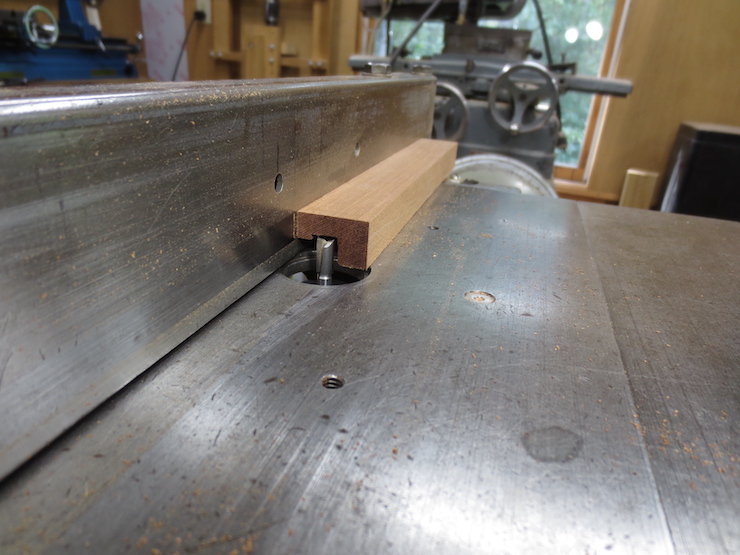
The stop (at the white arrow) is set so that the hollow ground blade cuts right at the scribed mark. Three 12″ x 18″ moulds are part of this batch, needing identical deckles. The stop is used to make all six of the long pieces the exact same length (then reset to cut all six of the shorter pieces). If only one mould of a given size is being made, opposite deckle parts (either both sides or both ends) can be clamped together and cut without using the stop. The important thing is that the two opposing sides of any deckle are cut to the exact same dimension.
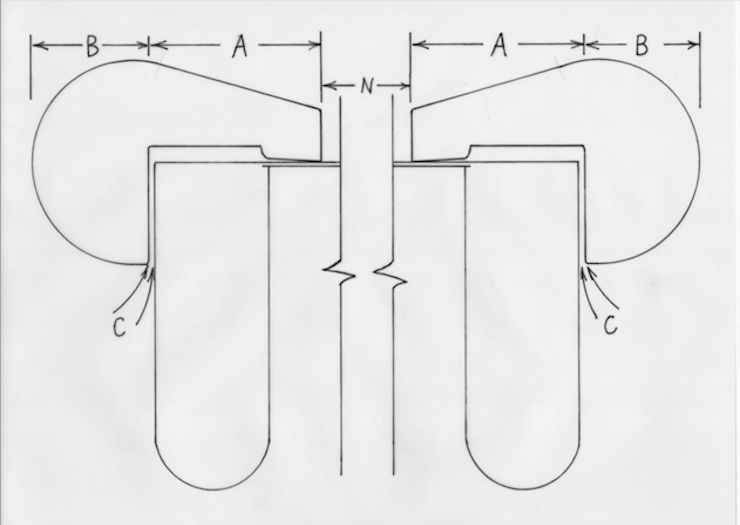
To calculate the lengths of the deckle pieces “A” + “B” is added (twice) to the intended opening of the deckle “N”. For my standard moulds the deckle overlap (A) is 3/4″ and (B) is 1/2″. This makes the total width of the deckle pieces 1-1/4″. Twice this equals 2-1/2″. Thus the short sides (or end pieces) for a deckle with a 12″ x 18″ opening should measure 14-1/2″ long and the long sides (the front and back pieces) should measure 20-1/2″. The clearance between mould and deckle shown at “C” has already been accounted for in the overall dimensions of the mould.
