This step is not too exciting but is important. The two long sides of a mould need to be drilled to receive the rib pegs. Marks are made to show the locations of the holes to be drilled. If the hole spacing is erratic or not symmetrical the mould can be thrown out of square. And for a laid mould the notches made in the rim of the deckle should match up with all the chain wires whichever way the deckle is set on the mould. For a pair of moulds sharing one deckle it becomes even more important to lay out the spacing accurately since the deckle should fit either mould equally well, both ways.
First the exact center is found and marked on the inside face of one of the two side pieces.
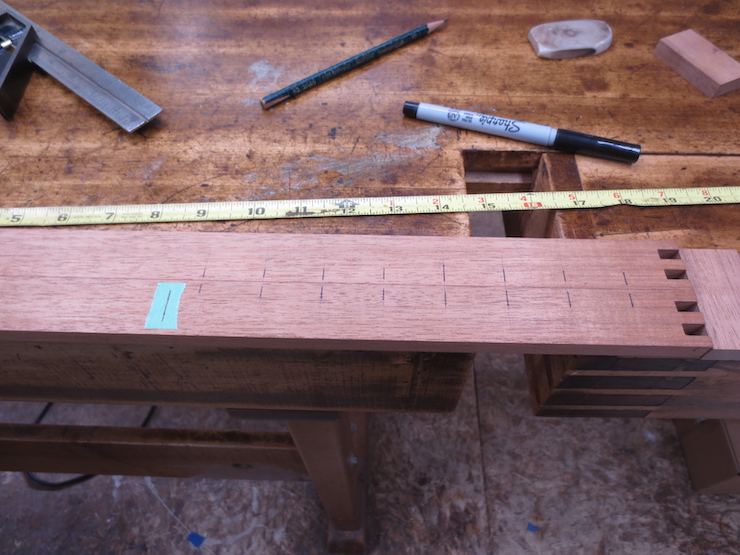
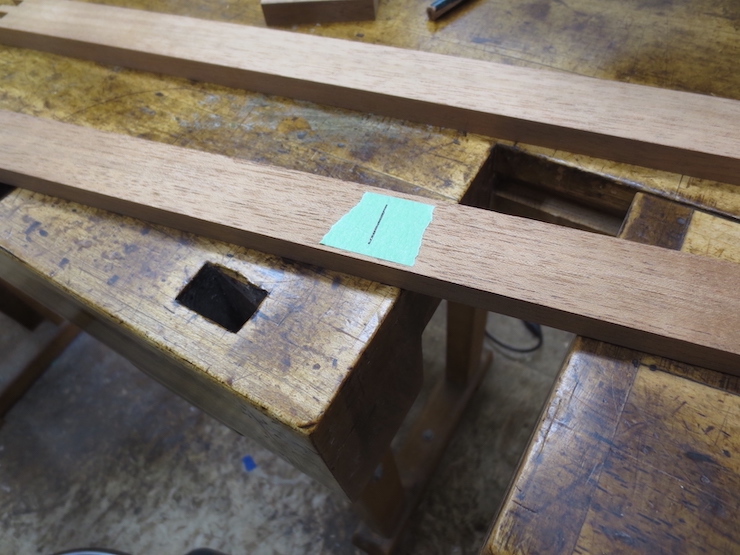
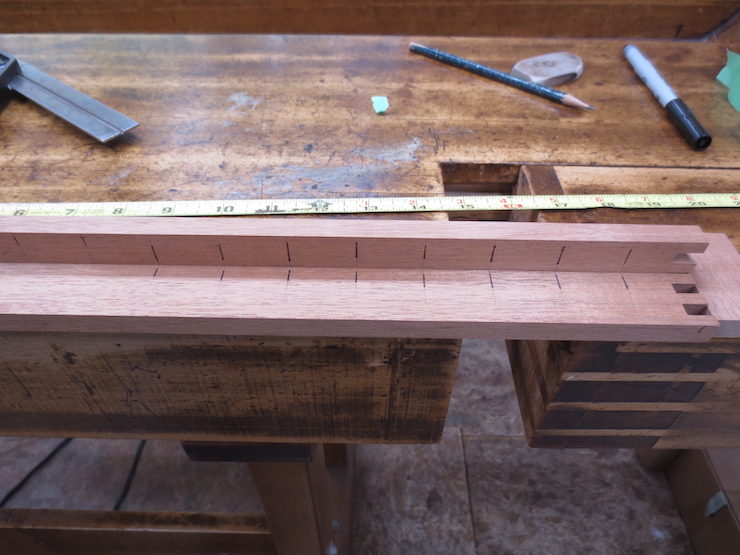
The sides are clamped together so the ends line up exactly and the upper sides touch each other. Then the rib spacing is carefully laid out using a square and a sharp hard pencil. This is done from the middle to one end, marking across both pieces. I am right-handed and tend to hold the square with my left hand and the pencil in my right, working from left to right as shown here. I have accentuated the marks with ink so they’ll show up better in the photos. Notice that the (marked) center of this mould will lie halfway between two ribs. Thus the measurement between the center mark and the first rib line is half of the rib spacing. This mould has 1-1/8″ rib spacing so the first mark is 9/16″ from the center.

One piece is turned end for end and inverted so its top edge rests against the side of the other piece. Once again the ends are clamped between blocks. The blocks are offcuts from the mould frame pieces.
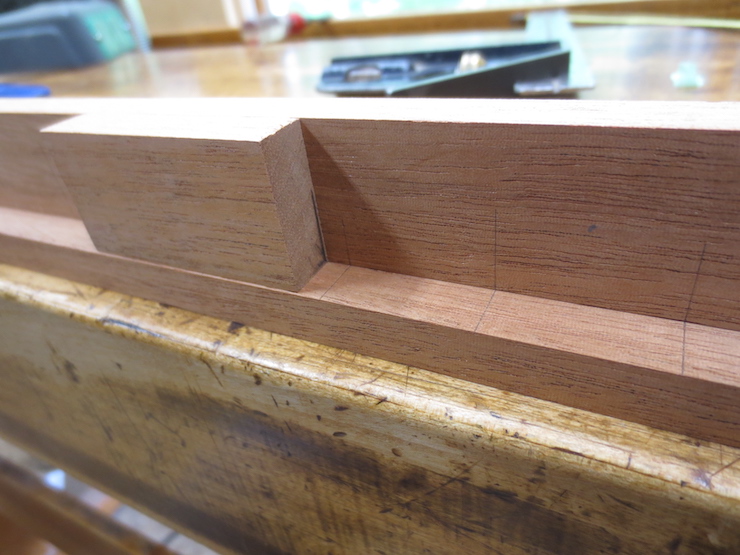
A scrap block with a true 90 degree end is used to carry the pencil marks from the lower piece over to the one that is set on its edge. Using a hard, sharp pencil (I use a 6H) it is possible to locate the point of the pencil partly by feel (where it has indented the wood) so that the square block can be snugged up against it, helping with accuracy.
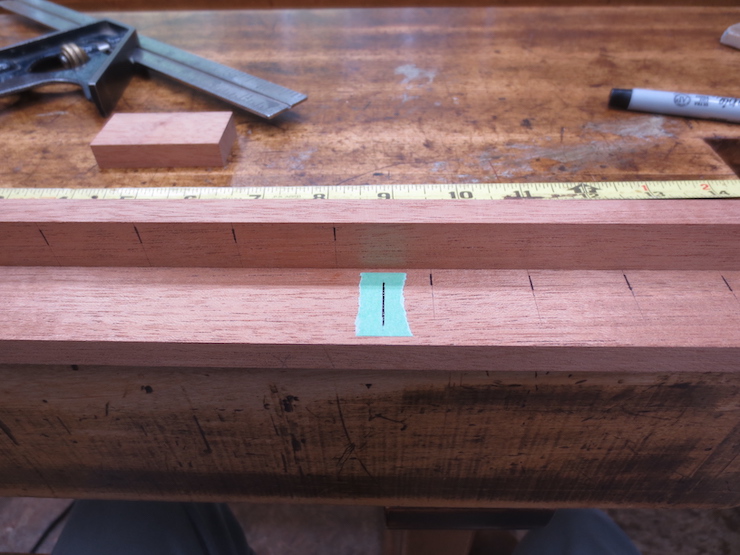
In this photo I have set one frame piece behind rather than on top of the other. Sorry for any added confusion here; either way works the same. Marks should extend all the way to what will be the inner top edges but need only extend far enough down to cross the place where the rib peg holes will be drilled.
The marks have been transferred and now one piece is fully marked.
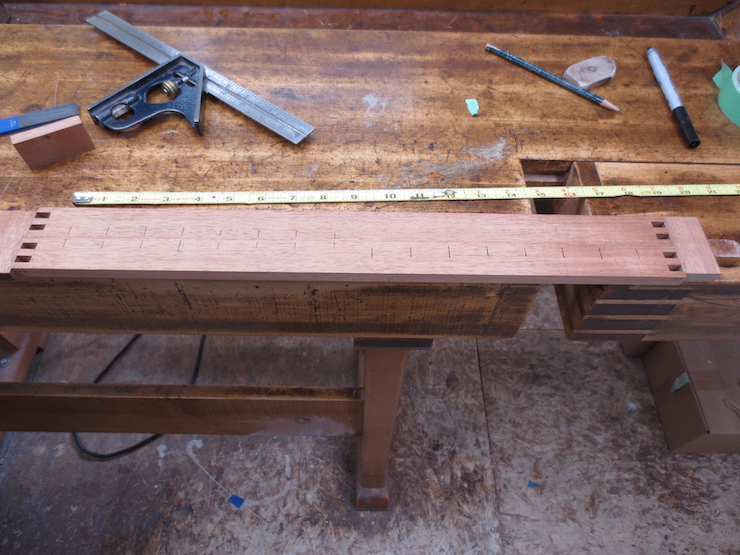
Both pieces are turned end for end and laid flat to finish marking the other side piece.
The reason for going through this process is to make the marks along opposite halves of the mould mirror each other (from the center out). This is important because a deckle can be laid on a mould in two possible ways. If the rib spacing is truly symmetrical the little notches under the rim of the deckle will fit neatly over the chain wires either way. If the chain wires are erratic some of the notches will need to be widened or doubled. This might be OK but does not look good!
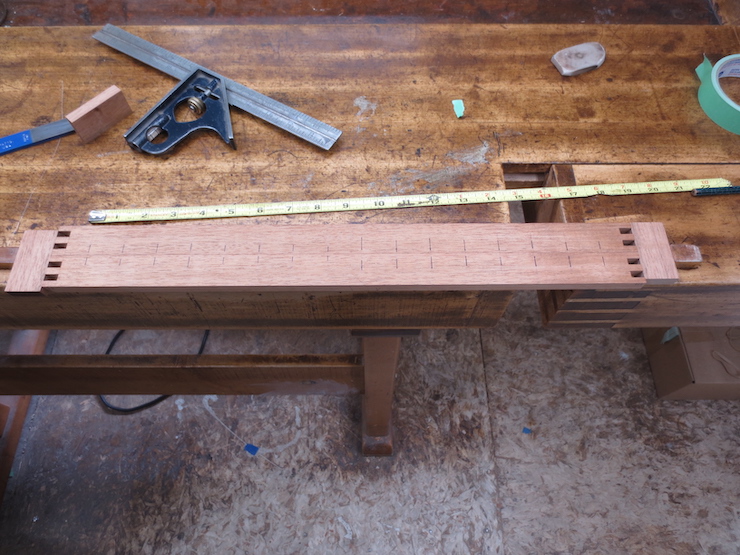
If a pair of identical moulds are being made for use with one deckle the four sides of both moulds will be exactly the same length. The marks can be carried over to the second pair using the method shown in the photos above.
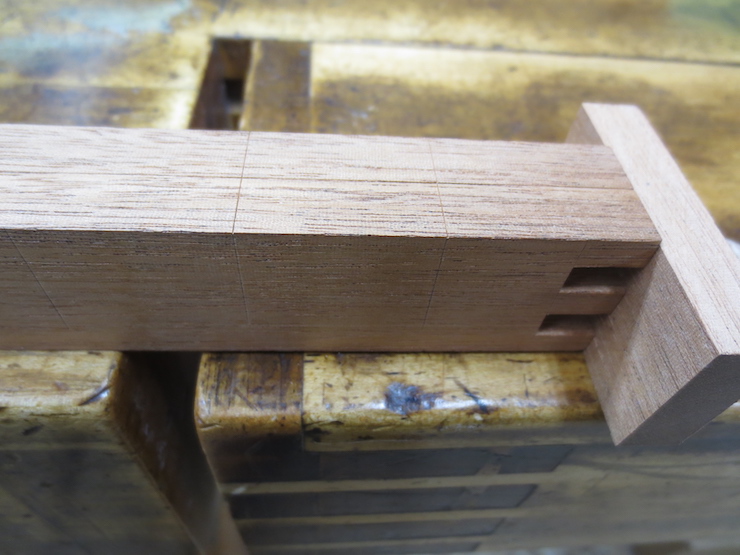
The last step of the marking process is to carry the marks over and onto the top edges using a marking knife. These marks will be used to help align the ribs and later the chain wires of the laid facing.

To check your work slide one piece over to offset the marks by one space. This will reveal errors in the spacing. I once made the mistake of making a mould with one narrow rib space. This test would have caught the error in time.
