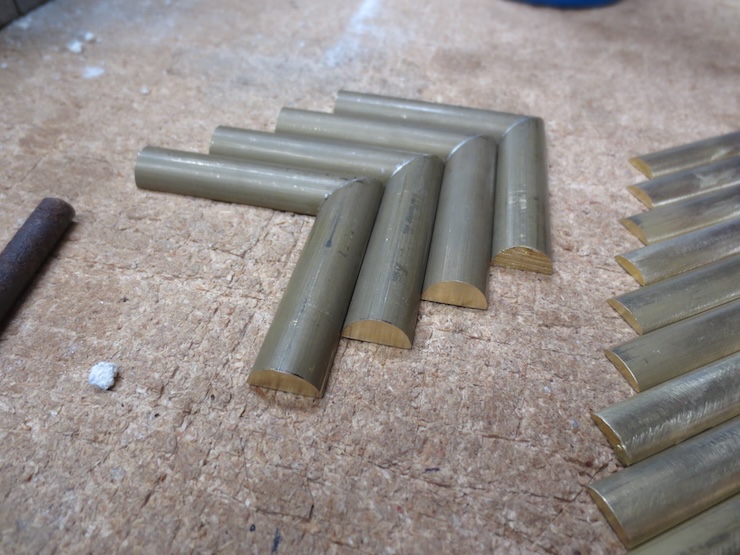
I have found three shapes of extruded brass that are suitable for making braces to protect the bottom corners of moulds. The largest size is a true half round 1/2″ wide and 1/4″ thick. The other two are roughly half oval. One is 1/2″ wide and about 1/8″ thick and the other 3/8″ wide by 3/32″ thick.

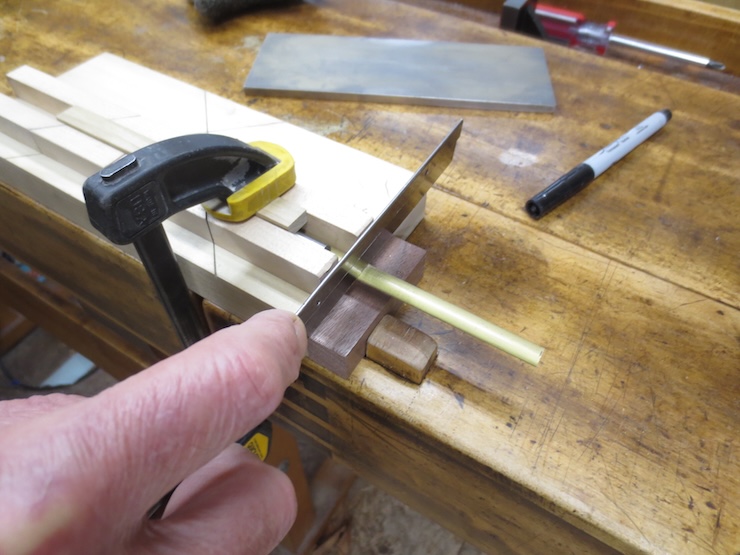
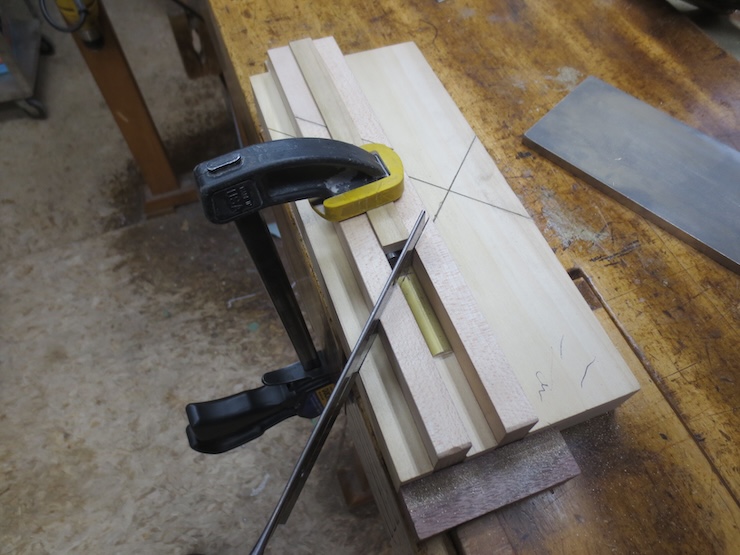
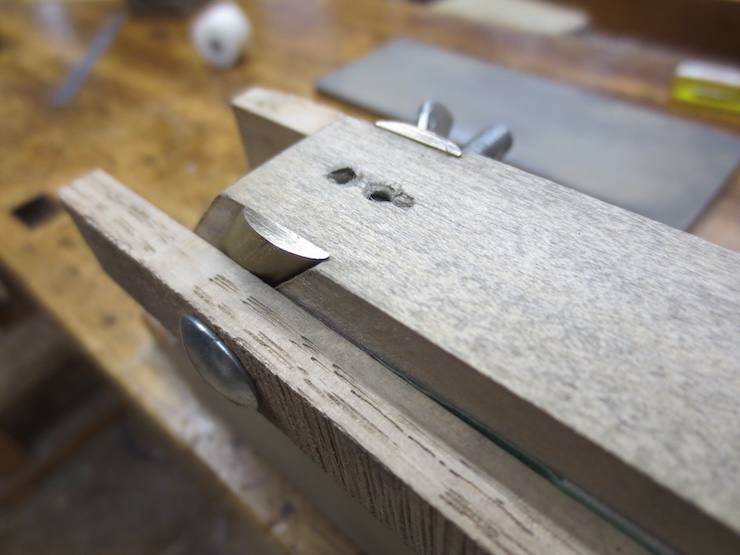
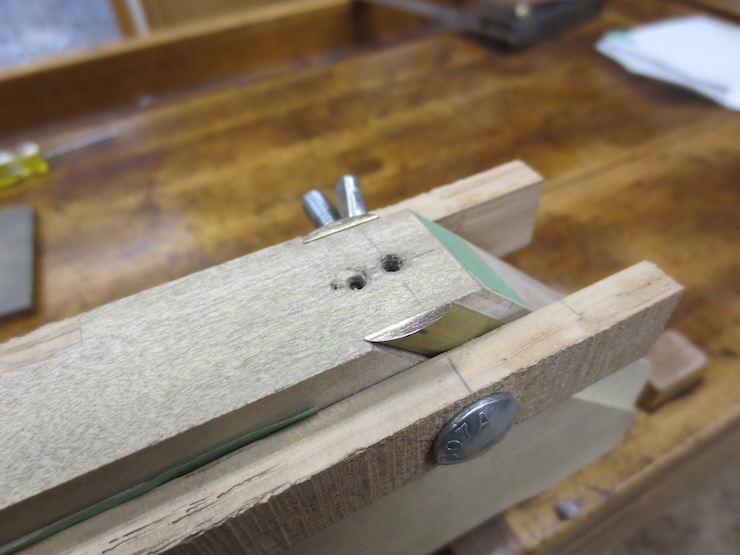
I made this sawing jig to miter this material with a razor saw. The fences are set into grooves and fastened from the bottom with round head screws and washers. This allows the 45 degree ends to be re-shaped and re-set when they get worn.
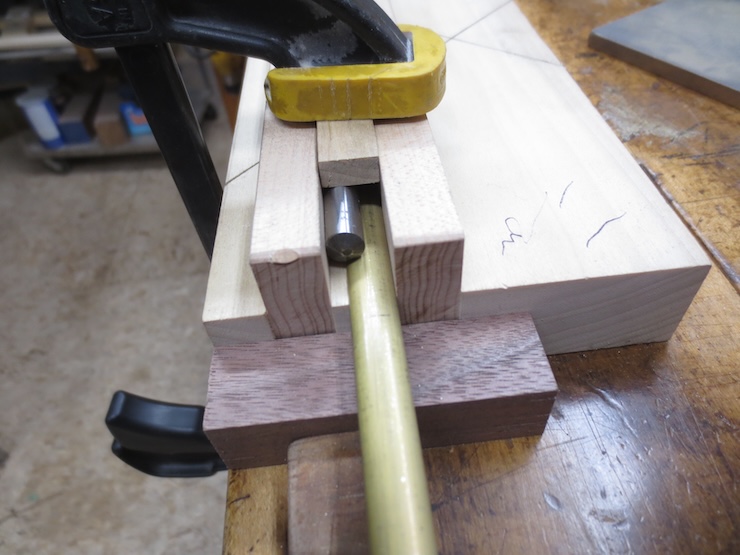
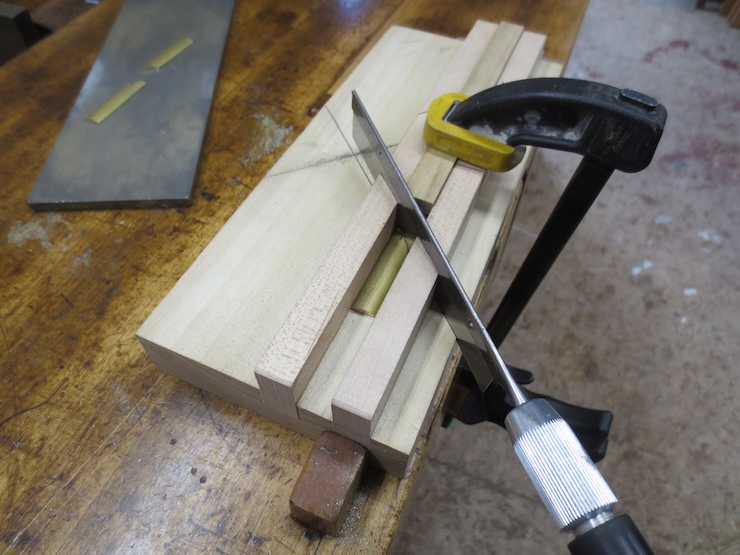
A piece of drill rod pushes the narrower 3/8″ stock against the back fence when clamped. The two wider sizes fit snugly between the fences but are also clamped using the same arrangement.
A single length makes two parts after a miter is cut. For this smaller material I used a piece just under 3″. This produces an L shaped brace with sides about 1-5/8″ each way.
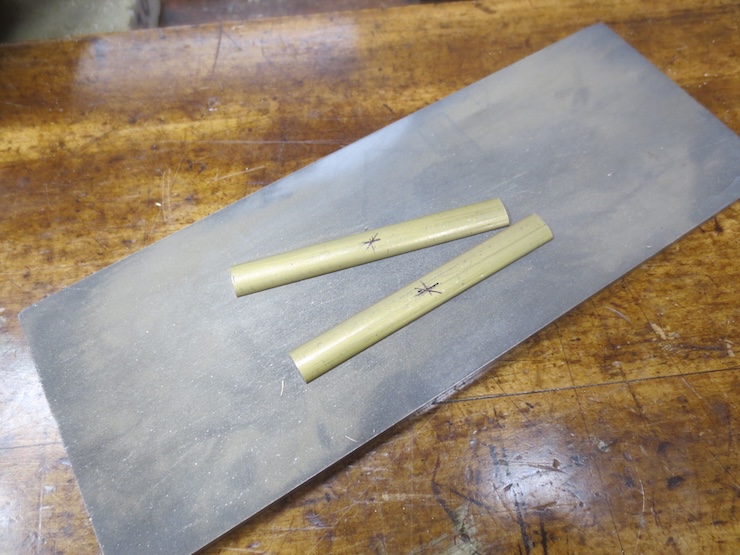
It takes two of these lengths make two L shaped braces because the miters must be cut opposite ways to get the mirror image parts needed.
Starting the first saw cut.

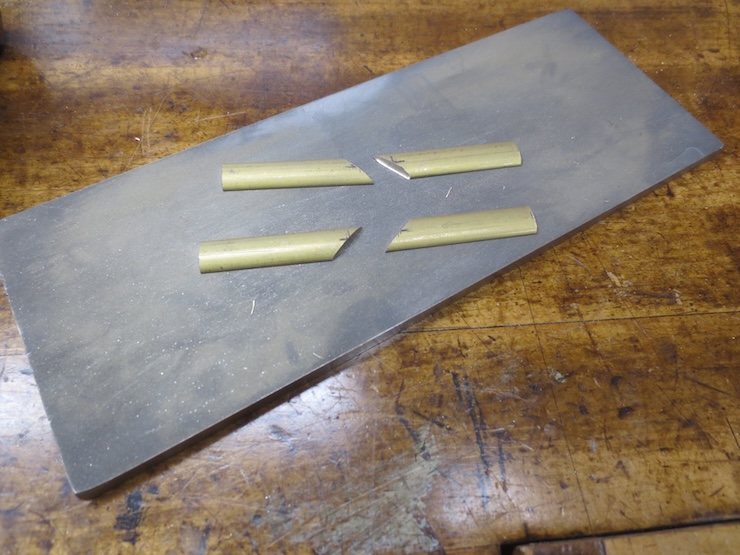
Two identical parts result.
The second part must be cut opposite from the first.
Now the pieces are lapped flat and any burrs are removed from the bottom edges. Slight burrs on the curved top surfaces are left alone.
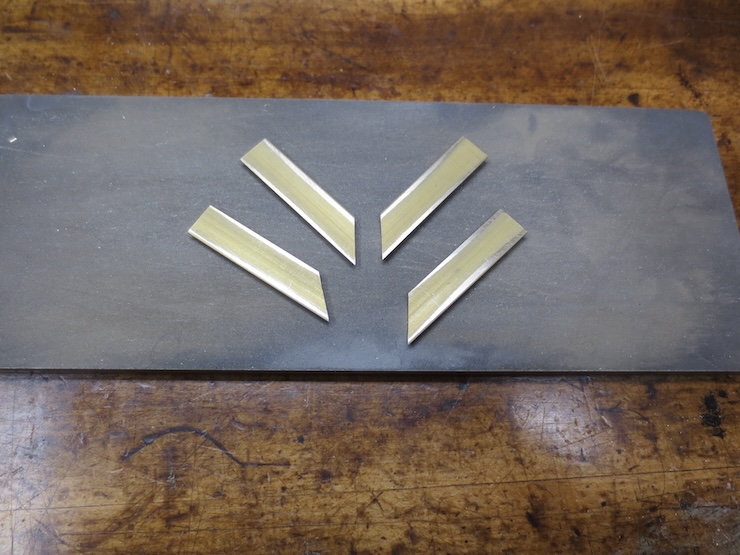
Flat bottom surfaces are important for shaping tight fitting maters. If the stock has a slight bend it can be gently hammered flat after placing a thin shim under one end.

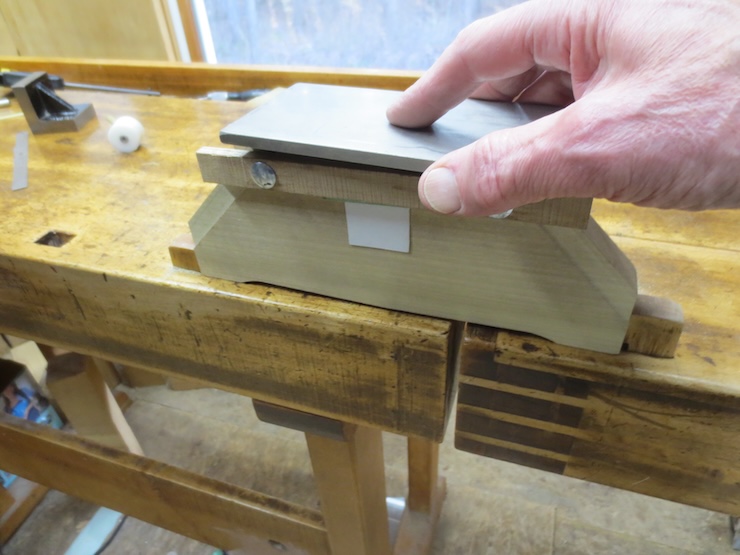
This is a jig that I made to lap the miters. Opposite sides of a single brace are placed in the jig and clamped in place; the far one can’t be seen here. The white plastic stop aligns the ends at the same height.
The recessed margin of the stop places the miters a little above the jig.
This end is shown ready for lapping.
And the opposite end is also ready. The miters are all raised the same amount so the diamond plate doesn’t touch the wood.
Lapping the miters.

The right hand part is not completely lapped.

A little more work with the lapping plate brings all four ends a little lower and they are now ready to solder.
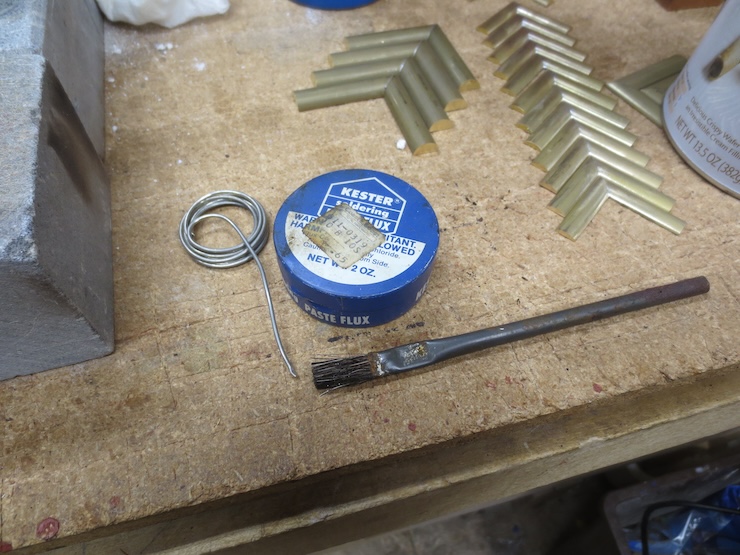
After experimenting quite a bit I found this paste flux to work best. I apply a thin layer to the freshly lapped miters while avoiding the top curved surfaces. (The price tag tells me that this tin of solder cost 65 cents and was purchased at a Coast to Coast hardware store. From these clues I deduce that it is about 45 years old.)
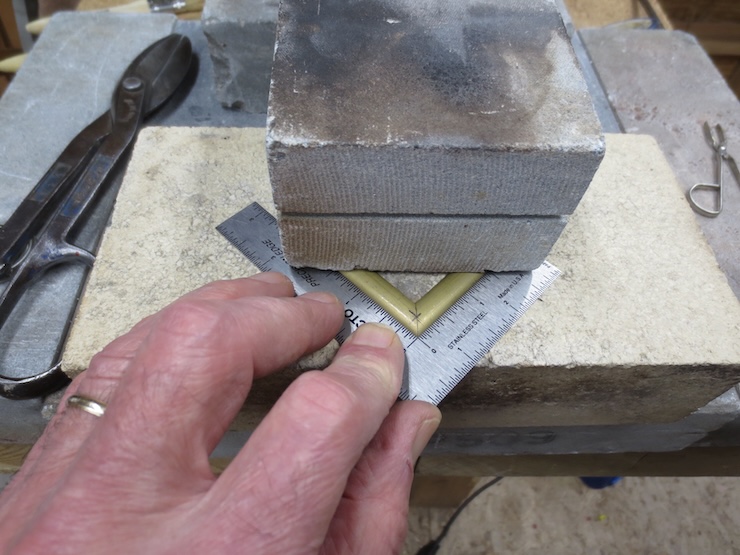
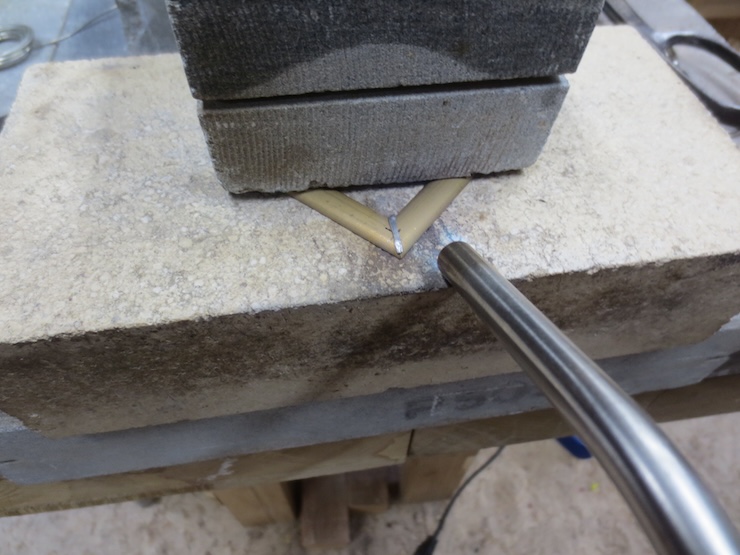
I looked for a firebrick that was very flat and ran the diamond plate over it to make sure. (This has an added benefit of scouring out the soft brass particles that clog the plate.) I square the brass parts and hold them in place with the weight of another brick, a piece of soapstone here. The brick is elevated on the far end so it only pushes down on the brass parts at two points along its front edge.
(After the joint is soldered the parts go out of square by a fraction of a degree. I think that when the solder flows in it widens the joint just a bit. This causes each half to pivot very slightly at the spot where the upper brick is holding it down. This makes the final angle of the braces very slightly sharper than 90 degrees. Aligning the parts with a slightly obtuse gauge (rather than the one shown) might correct this though the error is too slight to be a real problem.)
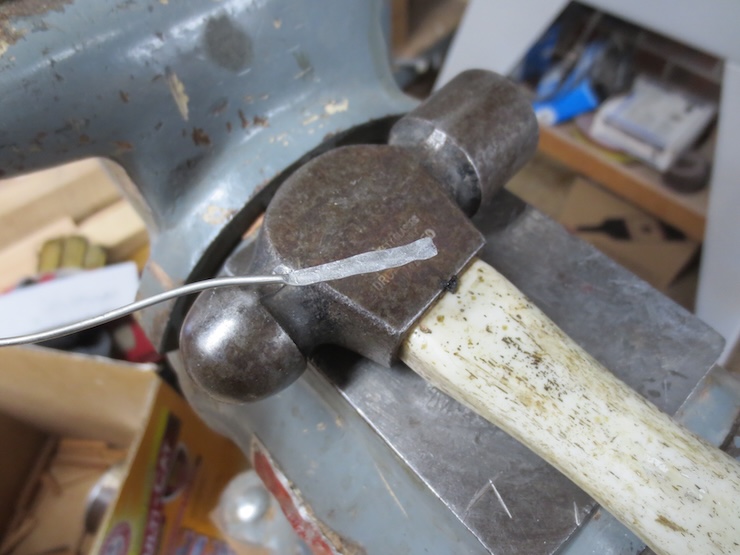
Solder can be hammered flat and cut into strips to make it easy to lay a piece over the joint.

Here it has been split with tinsnips and will be cut to approximate length.
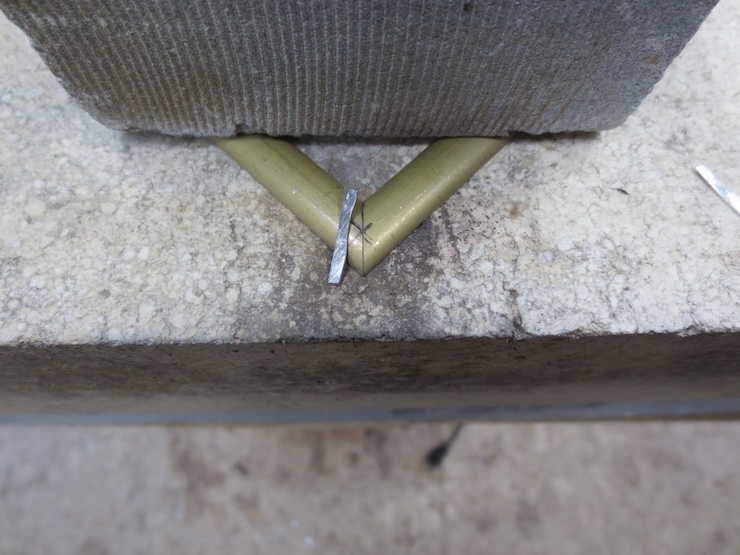
This is plenty of solder to fill this joint.
Being flat it is easy to form the solder to rest over the joint.
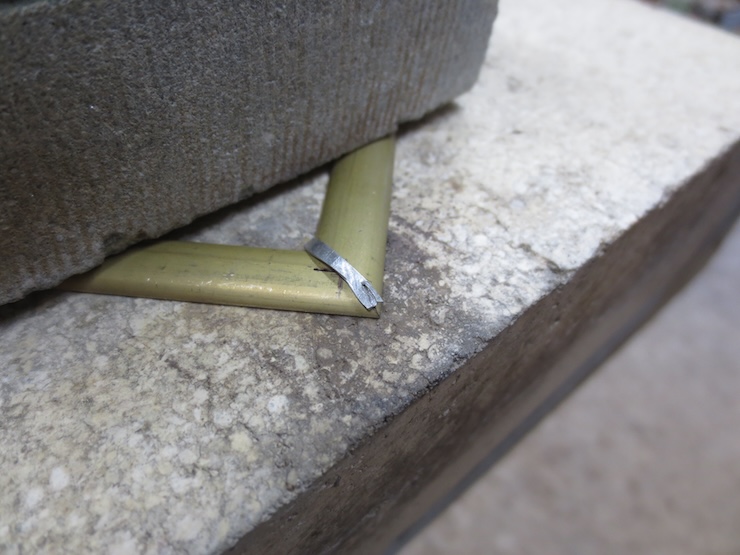
I eventually learned that a very low flame is best. I start at about the middle of the exposed parts and switch back and forth every few seconds. When the solder starts to melt I move the flame closer to the joint. The torch is actually resting on the firebrick, heating it as well.

When the solder has flowed into the joint a quick brushing with a cheap bristle brush gets rid of most of the excess solder. For my first experiments I was cleaning the entire part with alcohol, using liquid flux and also using a much bigger flame. The solder ran all over and needed a lot of filing. Many of the joints weren’t well soldered and had to be re-worked. The newer method results in a good joint with minimal cleanup needed.

I started with the small ones and you can see that they have seen much filing and sanding with all the re-working I had to do. The big ones were made after I discovered the better way. Leaving the curved surfaces alone reduces clean up. Presumably excess solder doesn’t stick as well to the oxidized surfaces.
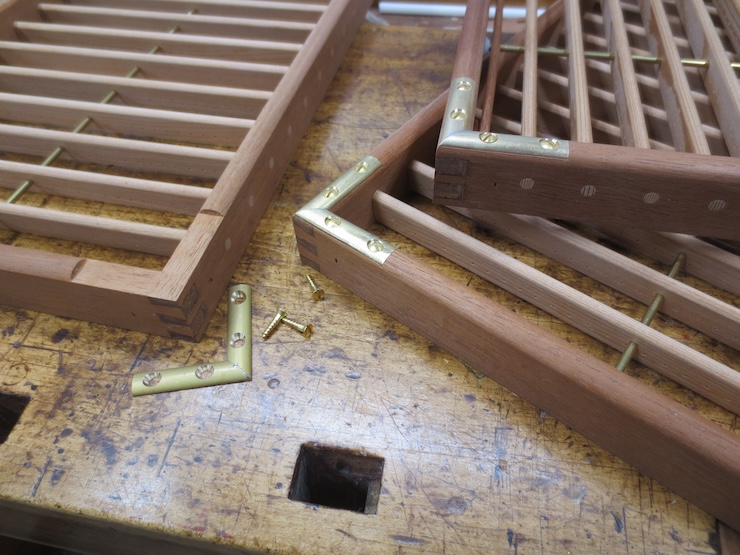
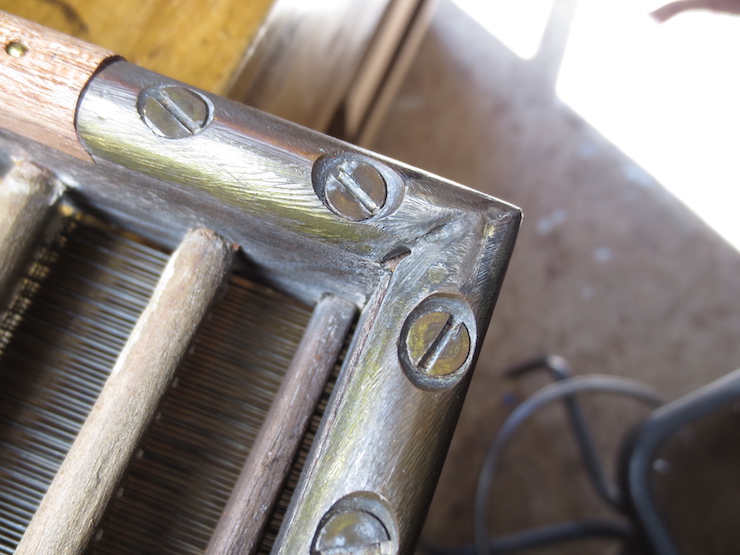
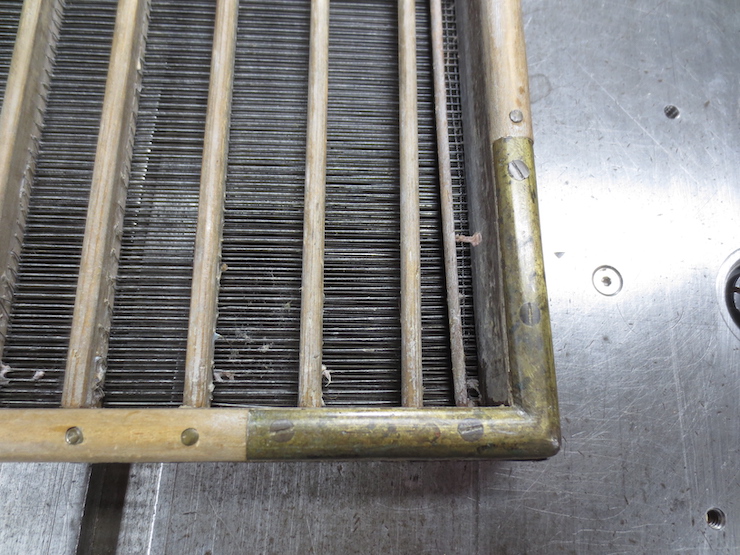
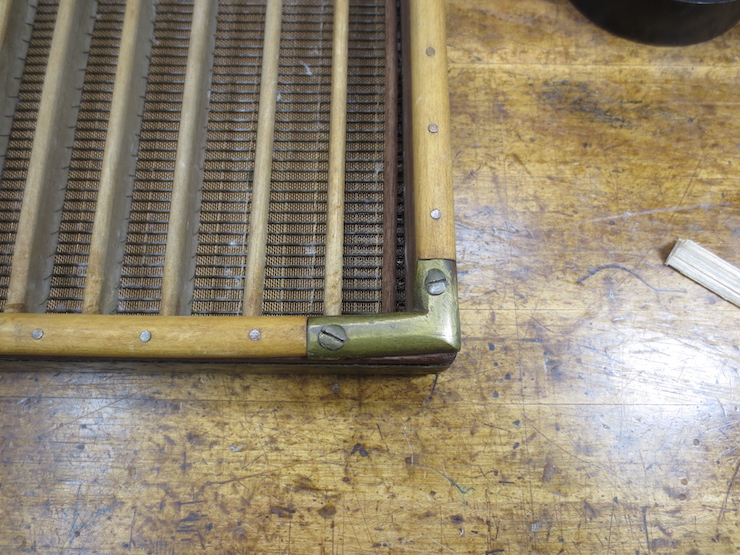
The heavy material is very substantial, weighing a little under 1/2 pound for a set of four 2-1/4″ x 2-1/4″ brackets! I’d be hesitant to use these for anything but very large moulds. I think the braces function more to prevent wear than to actually brace moulds square.

I would prefer these thinner ones for most moulds; they only weigh 3.9 oz. per set as opposed to 7.5 oz.

The small ones come in at only 1.6 oz. per set of four. These should work well for smaller moulds. I haven’t gotten around to drilling any of these sizes for screws yet.
This solder joint is a little sloppy!
This one is a casting.
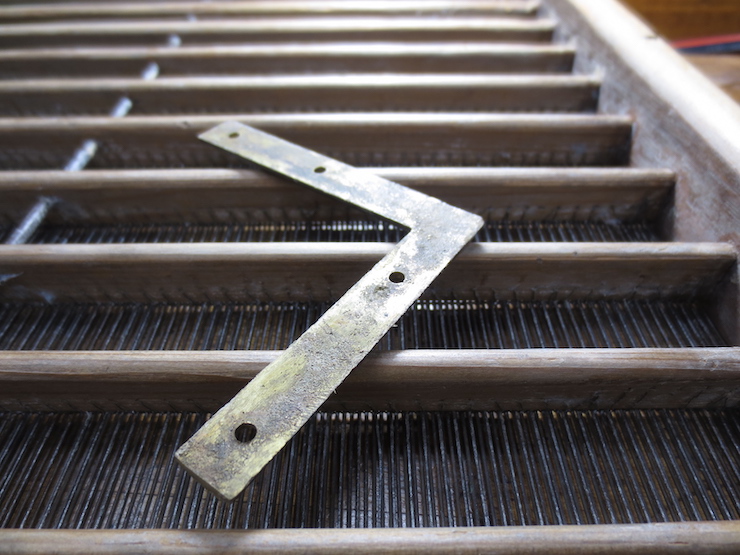
The same casting shown from the back.
This corner brace may have been sawn from flat stock and then shaped with files.
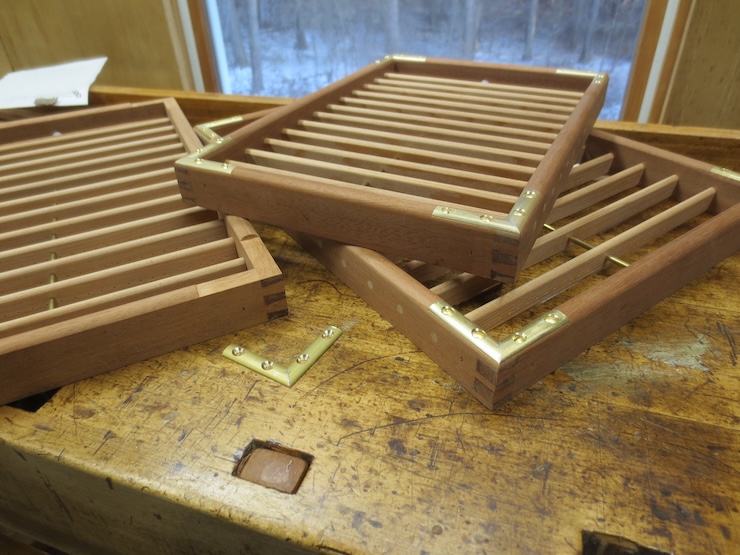
The light weight braces installed on a few small moulds.