I don’t offer these for sale anymore. This page is for people who already have one of these and to show the design should anyone wish to use it.
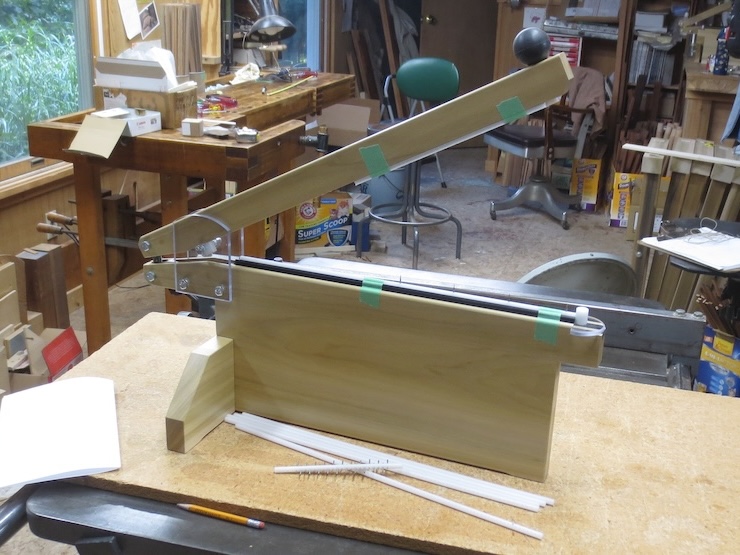
This is last and best design yet. It is easy to set up and no special tools are needed. In many ways it is identical to the previous model (#5) and you may wish to review the previous page titled: “Signature Punch” for more general information.
Set Up
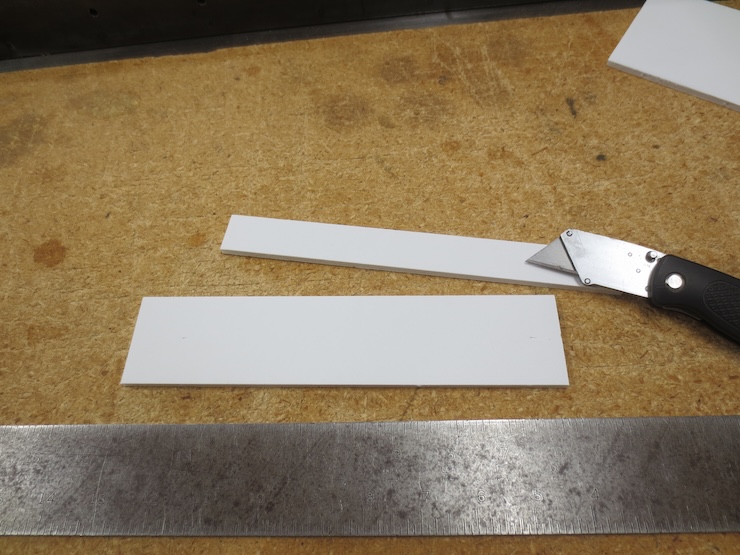
Cut a strip of foam board 1″ wide and at least as long as the spine of the book you are producing.
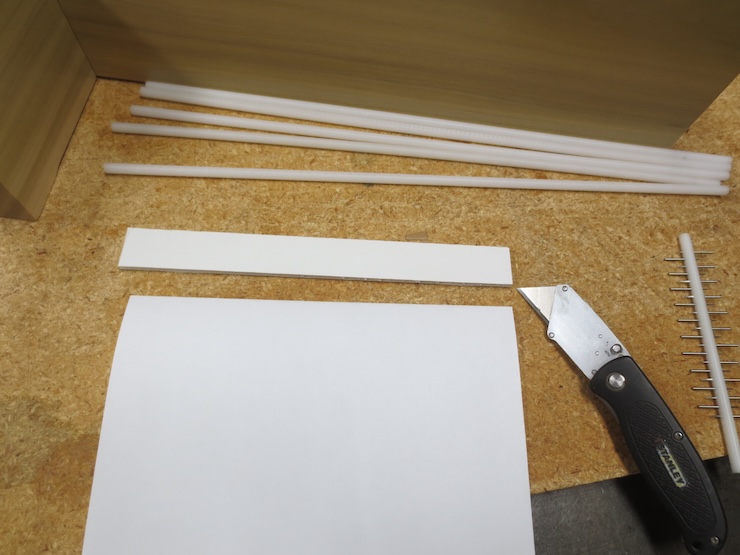
Here I am using an 8-1/2″ x 11″ sheet to make a mock signature.
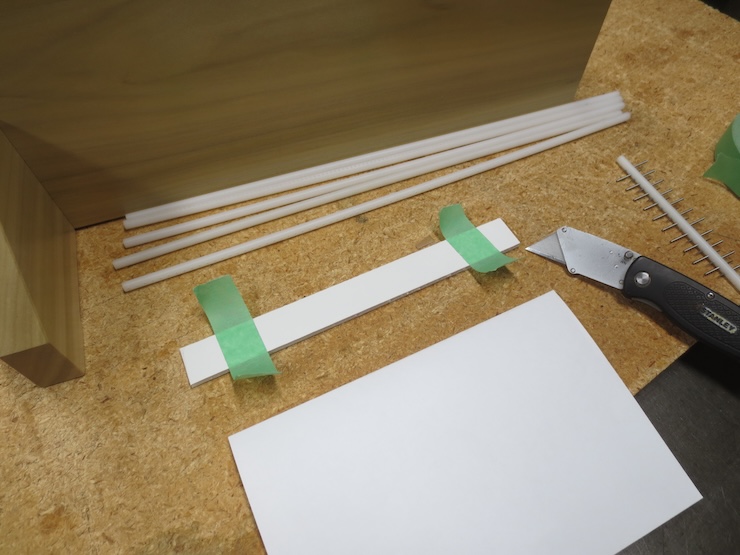
Put two or three pieces of tape on.
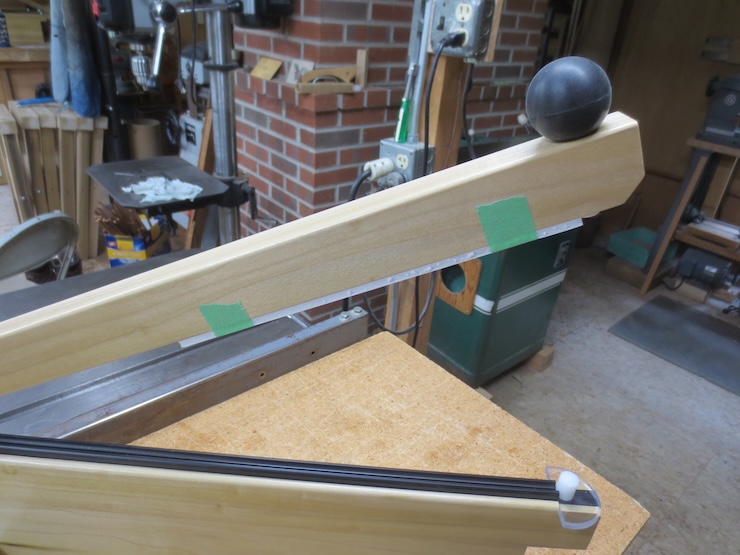
Tape it to the underside of the arm at the front.
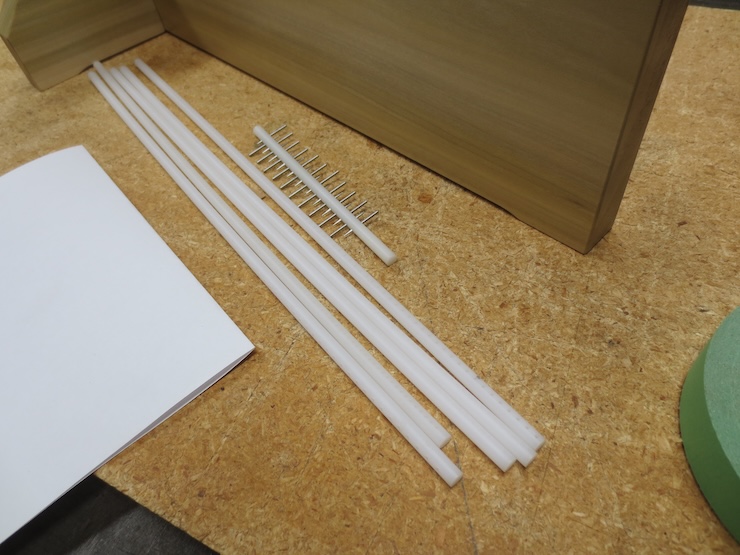
Choose one of the six pin strips to use. Each has a different hole spacing.
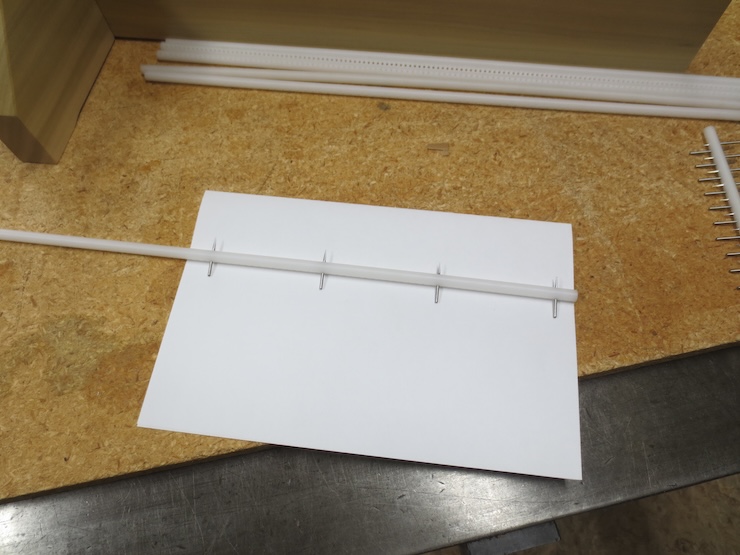
With your fingers start the pins into the holes.
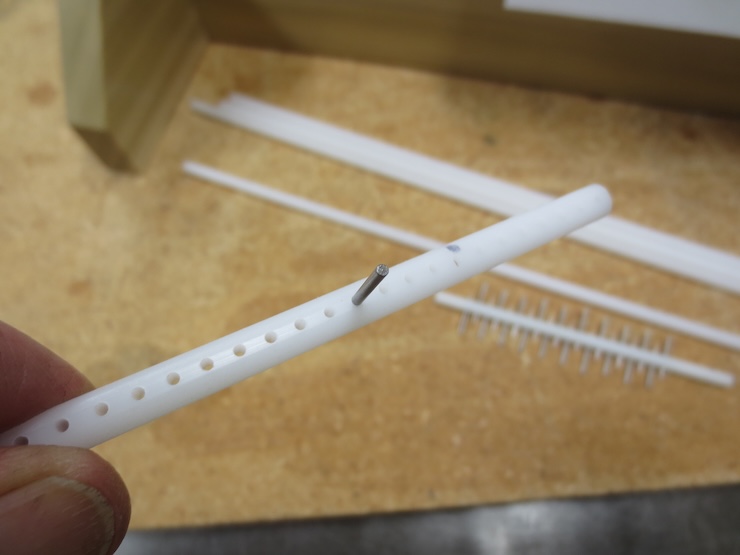
It is easier to start them into the flat side. This is the side from which the holes were drilled.
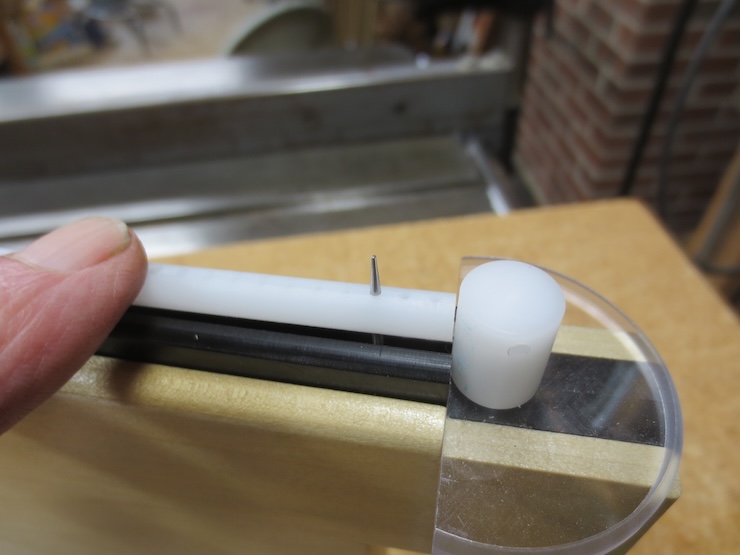
Place the dull ends of the pins into the slot and gently push the pin strip down.
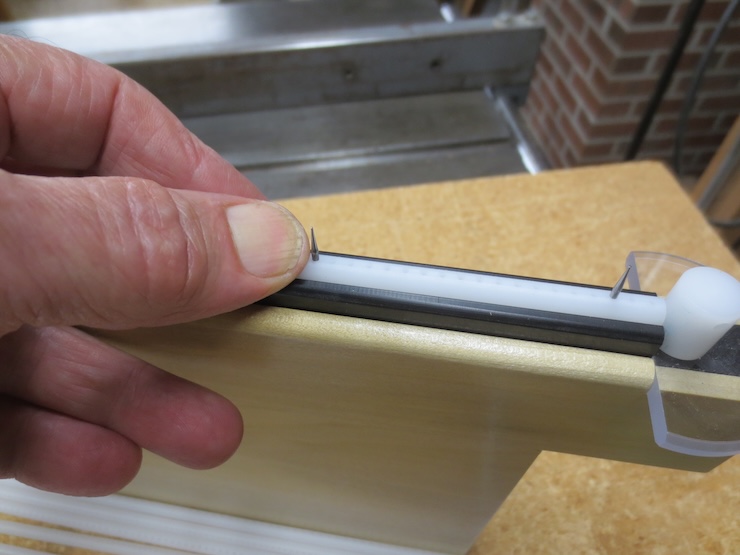
Push it down evenly for its full length. This will seat the round pin strip into its cradle and push all the pins to the same height.
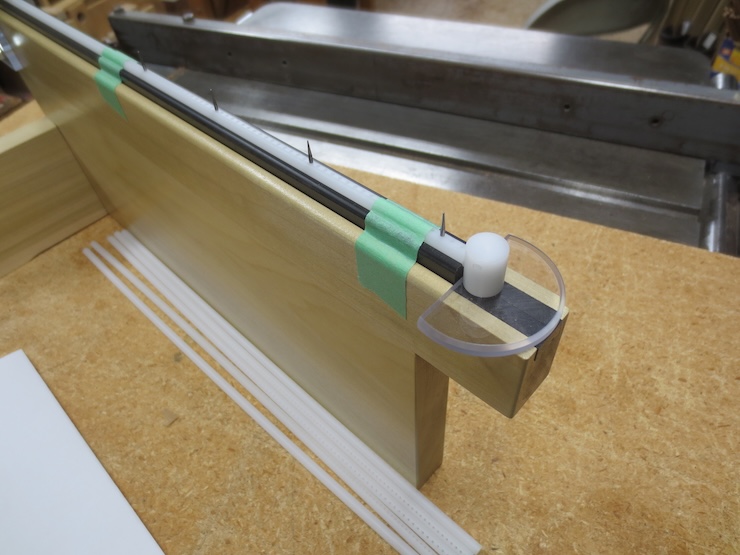
Use two or three pieces of tape to hold the strip securely in place.
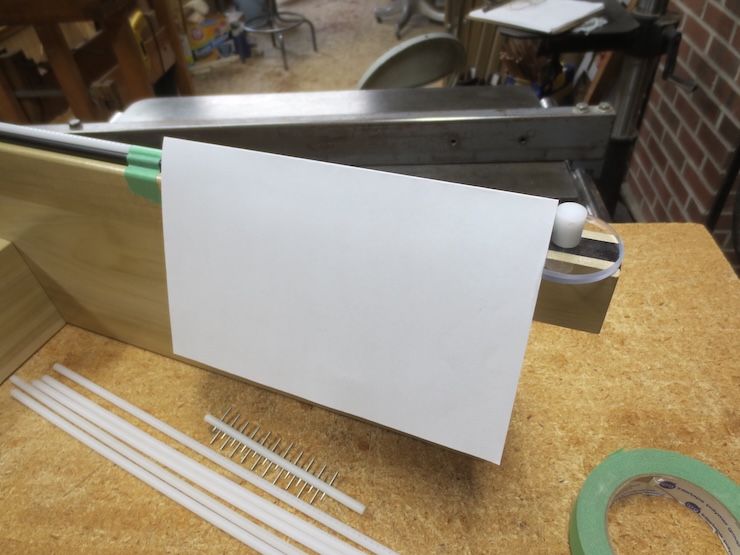
Register each signature against the front stop and gently settle it onto the tops of the pins.
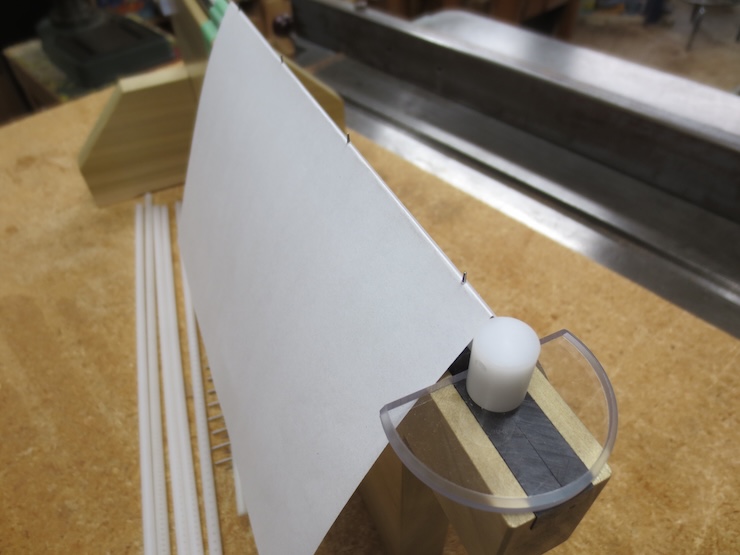
A quick chop will punch all of the holes. If you push the arm down too slowly the front of the pages may lever up. This can cause the holes to punch out the side instead of right in the crease.
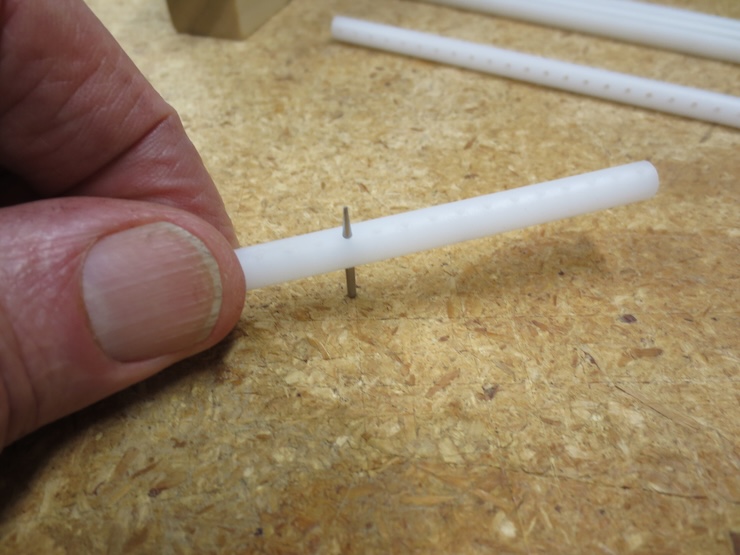
You can push the pins in using a bench top or similar surface.
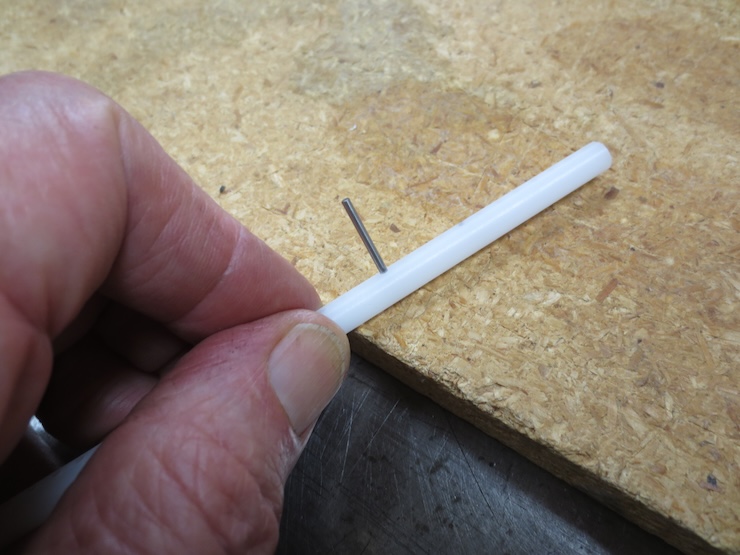
The pins are removed by pushing on their points in the same way.
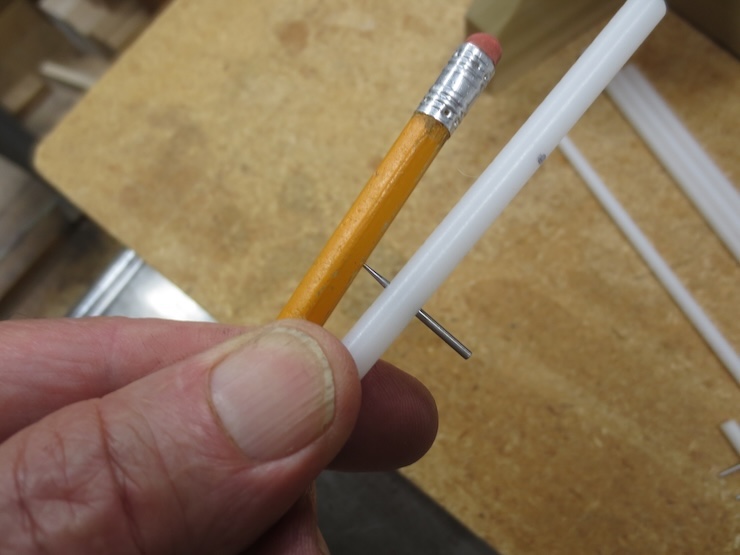
A pencil…
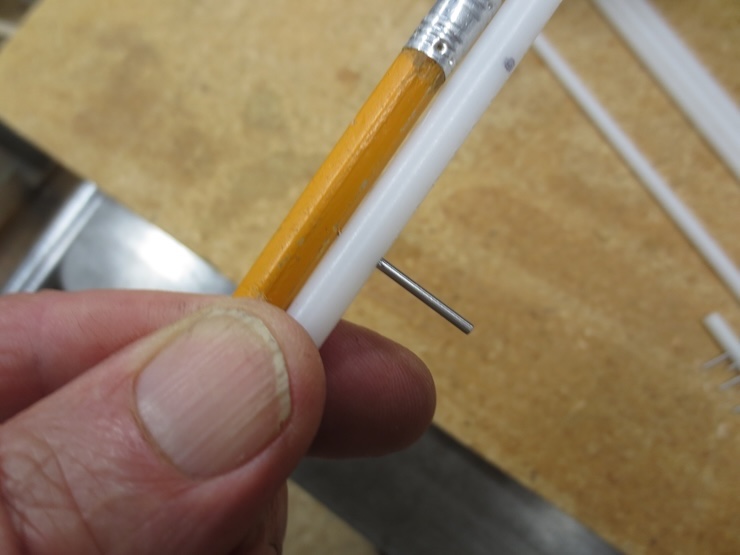
…works well too.
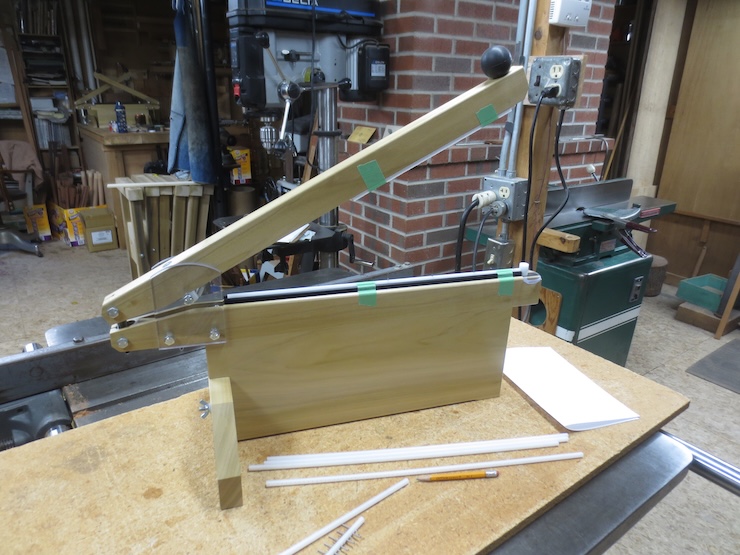
The pins are made of alloy steel. They will rust if exposed to damp. They can break if bent so be sure to press straight when inserting or removing them. The black ‘pin cradle’ shown is machined from acetal plastic. Polycarbonate can also be used by assembling it in a ‘sandwich’ to produce the slot. I think the cradle could be 3 D printed, in two sections if need be.

